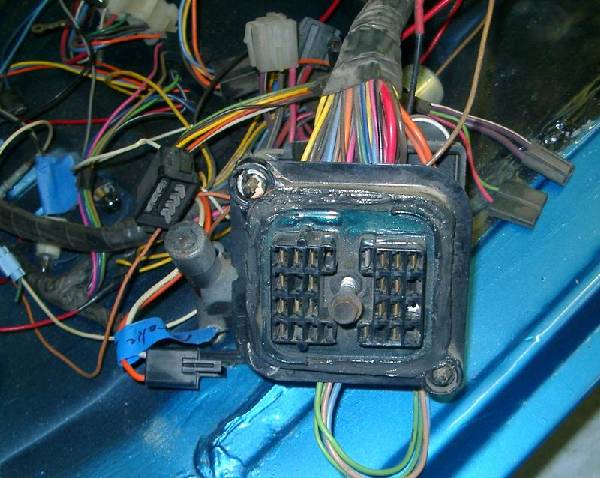
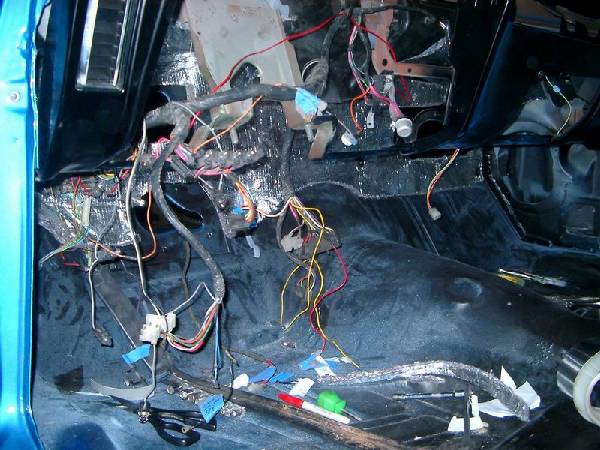
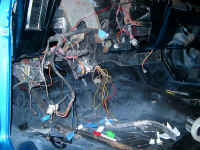
| The seal for the fuse block was not in the best shape. I decided to give it a light coating of RTV sealant. The initial goal was to run only enough of the wires to get the car running. |
 |
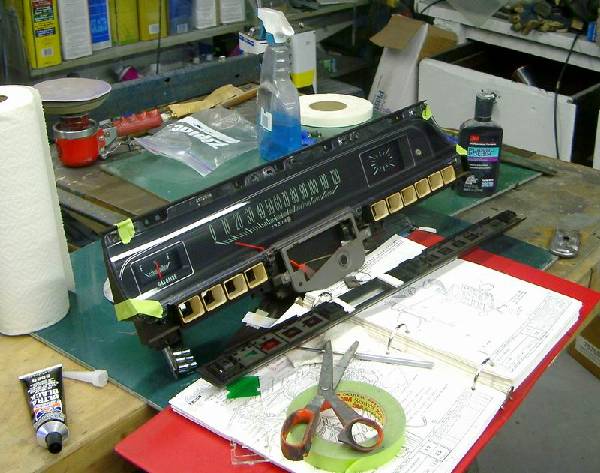
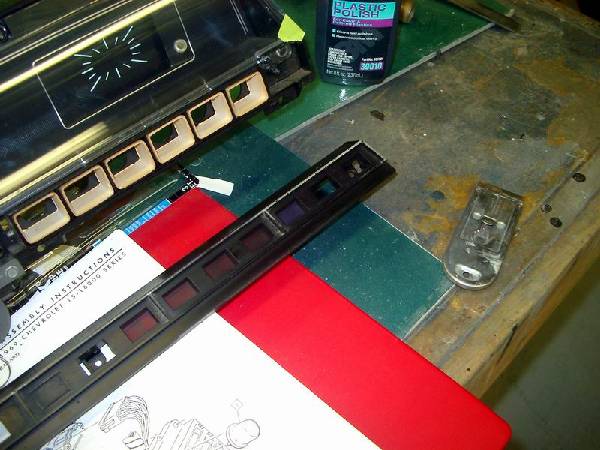
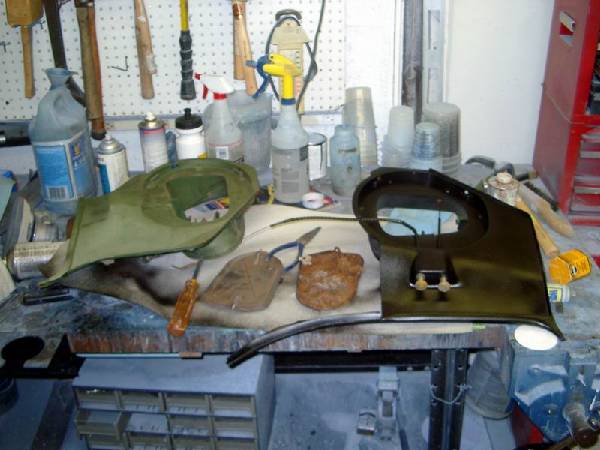
| The Dash was disassembled and cleaned. This included removing the clear plastic cover from the gauge assembly. This is melted in place. I used a small screwdriver, heated with a torch to melt the plastic for removal. The area was cleaned and the clear plastic was polished with 3M plastic polish. It had acquired fine scratches over the years that caused a great deal of glare.
The edges of the dash had chrome overlay and about 80% of this had worn off. To improve the appearance, I removed the remainder using 3M 1000 grit sandpaper.
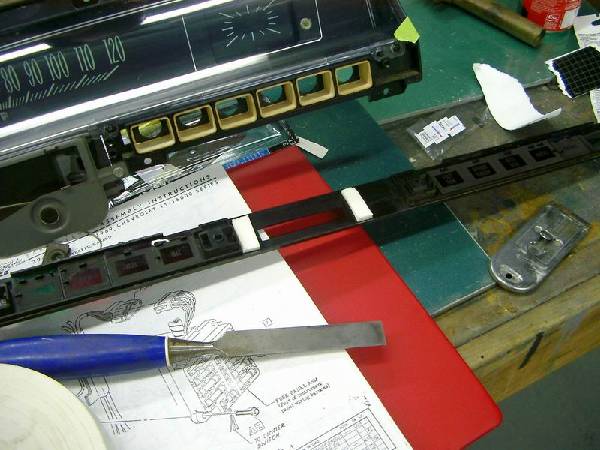
The shift indicator cover is kept from rattling with two foam strips that had deteriorated> I cut some foam weather strip to size as a replacement.
|
   |
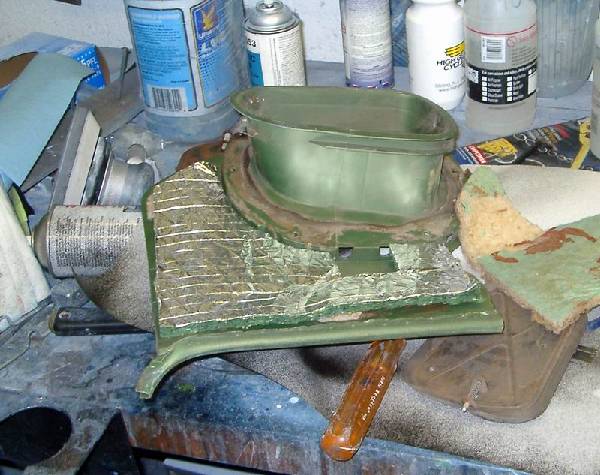
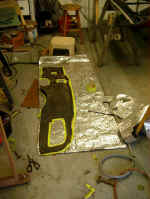
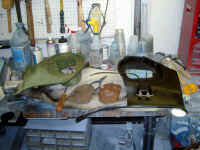
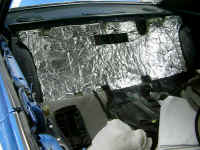
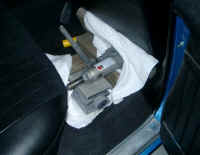
| The firewall insulation was falling apart. I cut a new one from aluminized "Heat Shield" felt. I cut two mirror pieces and glued them together to give sufficient thickness for good sound and heat control. I use the same material for up under the dash. The picture shows the old one being used as a template. I marked the outline with narrow tape. |
 |
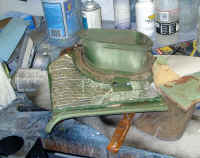
| New firewall pad installed with vents and wiring harness |
 |
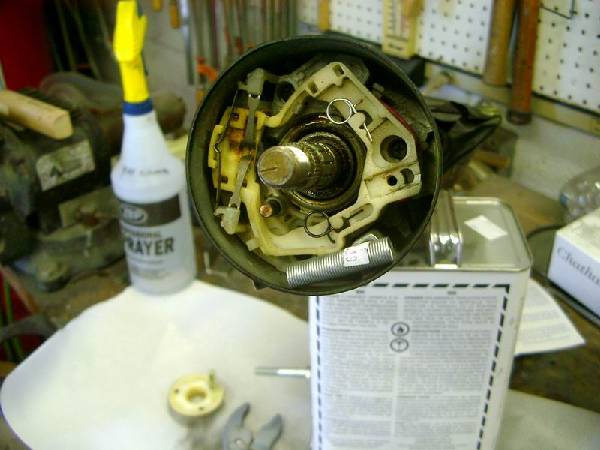
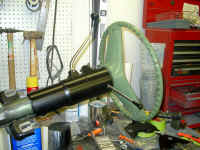
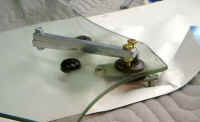
| The steering column had to be disassembled to repair the turn signal canceling cam spring- I got a spring made from similar sized wire and re-bent it into a mirror image of the good spring. |
 |
| Reassembled and painted column. I will probably buy a new wheel. the wood grain on the center section is in bad shape and the wheel is badly cracked. |
 |
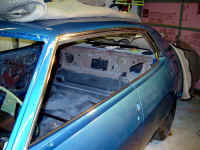
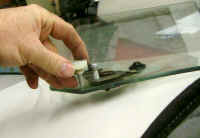
| Replaced the window seal at the roof line. This is different than the oroginal in that the rear end has no terminator. It also seems somewhat short and had to be stretched to make it long enough. The window felts at the top of the door were also replaced. |
 |
| Added door switches to the rear doors and used green wire to splice it into the white wire drivers side under the dash |
|
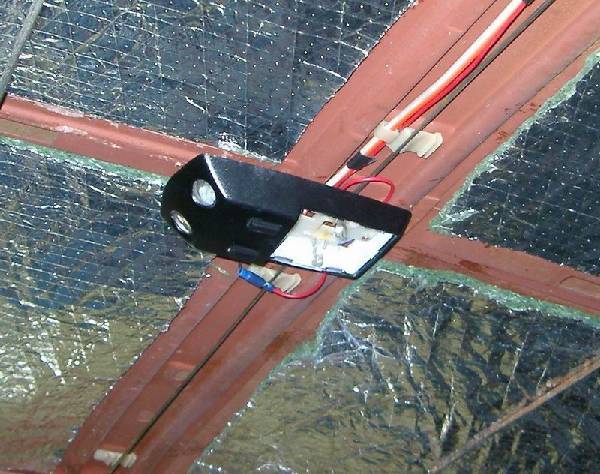
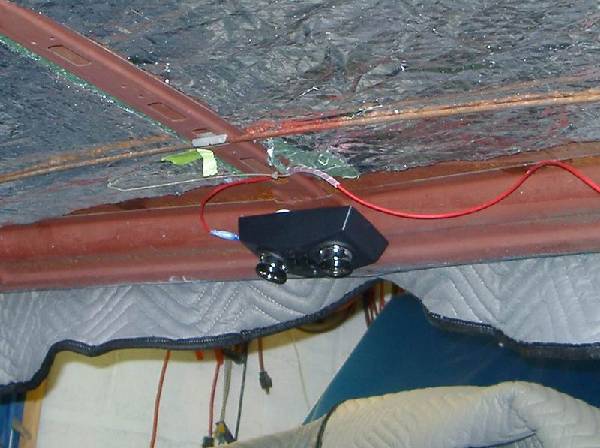
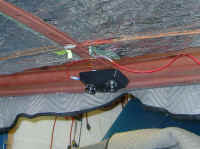
| Upgraded lighting - I salvaged a dome light with map lights from a 1989 Chevy Celebrity Uses bulb # 561). It screwed right into the existing dome light holes. I ran an extra hot wire so that the map lights will be available with the ignition off.
I added reading lights above the back seat in the center. They are powered with a 14 gauge red wire. The front wire follows the the existing dome light wires into the trunk. The rear light splices into this wire in the trunk, just behind the rear seat. The wire runs through the existing wire channel to under the dash to be connected to the hot terminal on the fuse panel.
Also added mylar backed fiber insulation to the entire roof for sound and heat protection. The roof has thin fiberboard insulation/sound deadener in the roof and originally had a thin fiber pad over the drivers seat only.
Post assembly note - One problem is that the lights are in line with the rear view mirror. I will try to make some shields.
|
  |
| Headliner - I installed a black headliner. The bows were bare metal and had a slight amount of surface rust. I just lightly sanded them prior to use. The headliner was glued in around the edges with 3M Super trim adhesive.
One of the nylon clips to hold the center of the bows was lost and new ones were not available. I made a custom metal "washer" out of 14 gauge steel with two holes drilled in it. I made a small hole in the ribbing of the headliner and tied it to the washer with a nylon wire tie
|
 |
| Repair and color change for kick panel vents - I got black kick panel vent assemblies from ebay. It turned out that the vent assemblies were completely unusable so I transferred the mechanicals from my units to the black ones. The plastic cable sheaths for the upper vents were split. I wrapped them with electrical tape in an effort to restore their operation.
The black ones were faded so I sandblasted them, cleaned them and painted them semi-gloss black.
I also replaced the fiber insulation with new mylar backed fiber insulation.
|
  |
| The interior trim pieces were painted black. The vinyl was painted with SEM Color coat for vinyl. Metal and plastic used |
 |
| The fiberboard insulation behind the rear seat was falling apart. I replaced it with Mylar backed insulating mat. |
 |
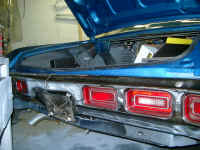
| The rear tail light lenses were replaced with a set obtained from Ebay. Not available from aftermarket sources. |
 |
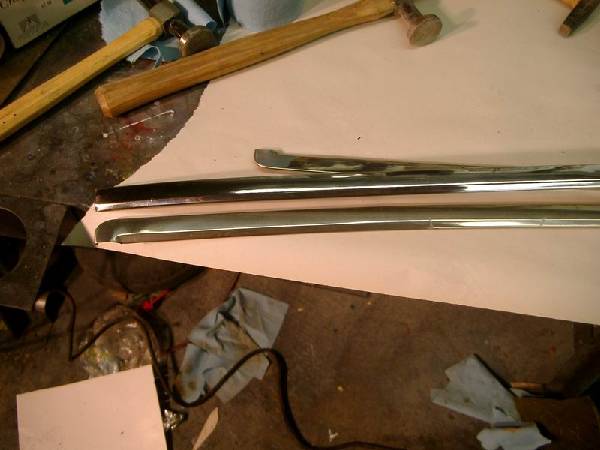
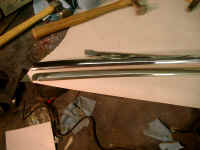
| Stainless trim - was polished with a buffing wheel prior to installation |
 |
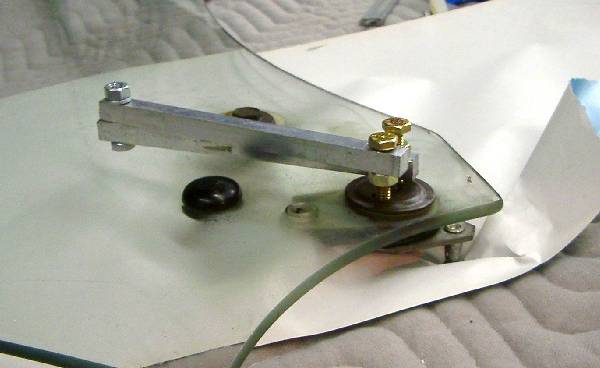
| The front driver side window roller was damaged and replacements were not available. I used a roller assembly from a 1968. The outside dimensions of the roller are the same as for 69 but the ball and socket mount is a different size. This prevented a simple swap of the rollers. I removed the assembly from the window after fabricating a tool for the removal.
The old mounting shaft was drilled out and the new one installed using nuts that were ground thinner to provide sufficient clearance.
|
  |
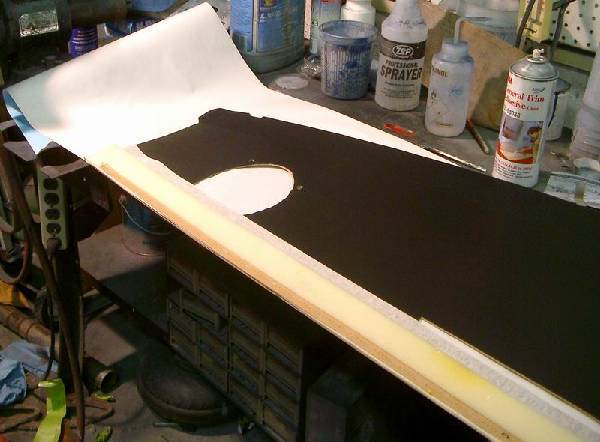
| The package tray (rear deck cover) was not available. The 1968 piece was the same width so was purchased. It turned out to be not deep enough. I purchased black deck material in a sheet and used the old piece as a template. I removed the stitched-on edge materials (vinyl cover, foam padding, cardboard reinforcement) and attached them with a staple gun. I stapled through the assembly into a thick cardboard pad. The staple ends were then bent flat. |
 |
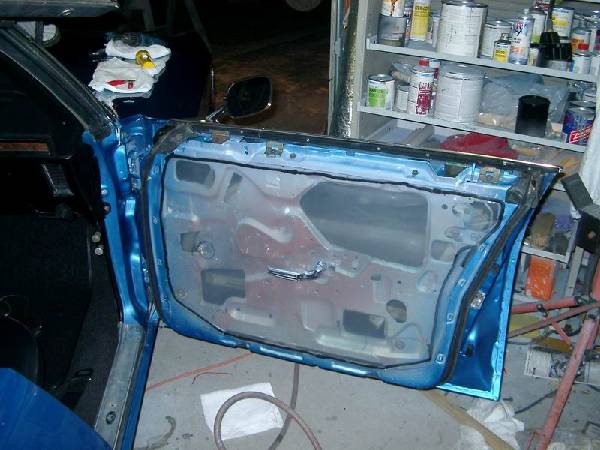
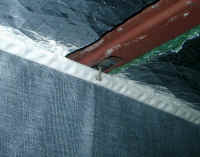
| Water shields - The old water shields were in fair shape but I decided to replace them with 6 mil plastic. It is held in place with 3M strip caulk. The old shields served as templates. |
 |
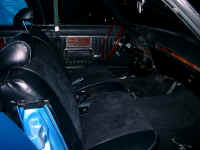
| Upholstery - I ordered new seat covers in a pattern similar in style to the original, but with a more modern fabric. The covers were installed by City Auto Top, a local shop specializing in such work. I installed the completed seats.
The rear seat cushion is a real problem to get in and out. In theory, you push the lower edge back to engage the retaining hooks. In practice, it is impossible to do without some type of leverage assistance. The bottle jack, towels and limber pile is the best approach I have found. The bottom rear of the front seat provides an anchor and you push against the front edge with the jack.
|
  |
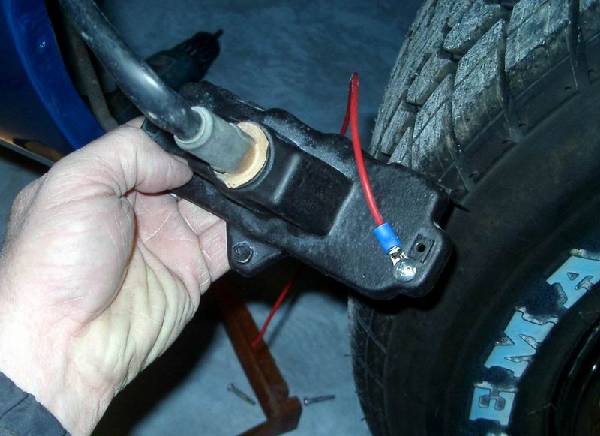
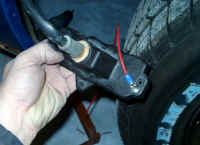
| Bad Grounds - The front parking lights are attached to the lower valence and depend on conduction through the valence for the ground connection. Since I was careful not to scratch the paint during assembly, there was no ground. I added a ground wire from the light housing to the chassis. |
 |
|
|
|
|
|
|
|
|