The fenders are units I purchased used when I first obtained the car. Unknown to me at the time was that they had been repaired and the repair hidden by bondo and primer. The corners were repaired with patch panels for the sheet metal. The supports were not available and were rebuilt by hand. Fortunately this was only needed at the very bottom.
| Fenders -
For a previous repair I purchased recycled fenders. I ripped them open till I found clean metal on both the skin and structural support. Patch panels were available for the skin but not the support. I repaired the support and used patch panels for the skin. The inside of the fenders were painted with Zero Rust. The good news is this was the last item to be stripped so no more surprises regarding rust. |
  |
| Patch panels were purchased for the fenders. The shape was only fair. The bends at the bottom were not sharp enough and there was not enough metal along the edges on either side. | 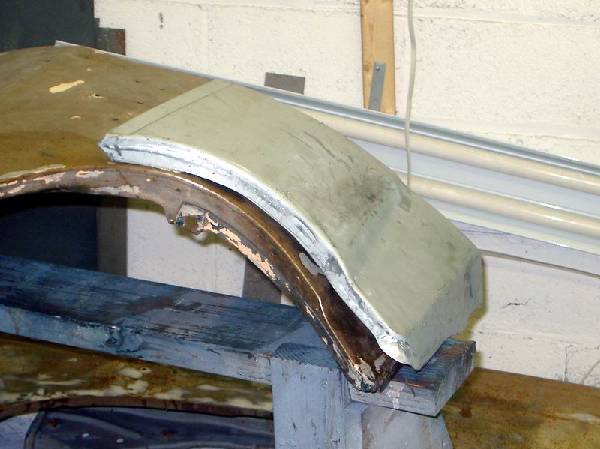 |
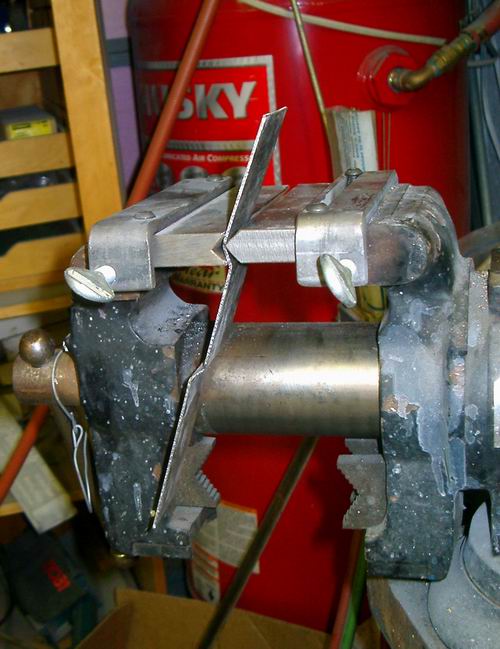
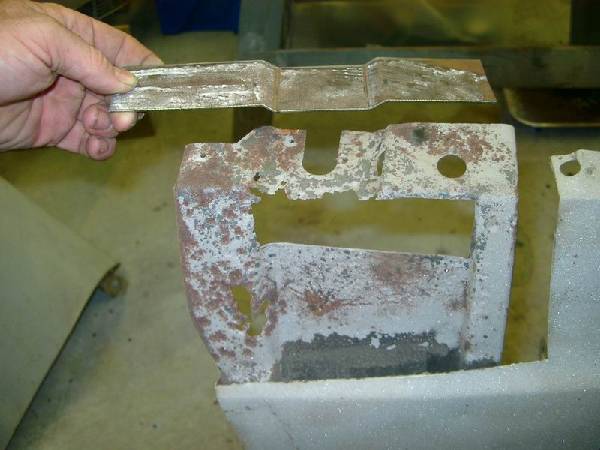
| Started by making a replacement foot for the fender support. I used rolled flashing material to make templates for the new pieces. It is easily cut and bent but holds its shape. It can then be flattened to use as a cutting template for the metal to be used.
I used 16 Gauge steel, cut and bent it into shape. The vise mounted bending setup was purchased from Eastwood. |
  |
| Here it is welded in place, prior to grinding | 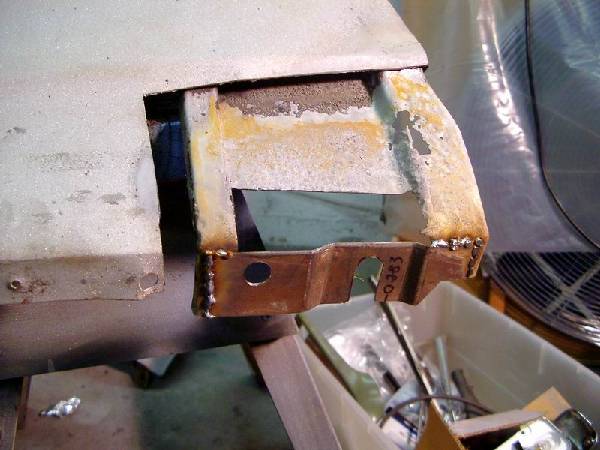 |
| Replaced the right side piece. |  |
| Replaced the center. Left holes in the corners to allow drainage. Hopefully this will slow the return of rust. | 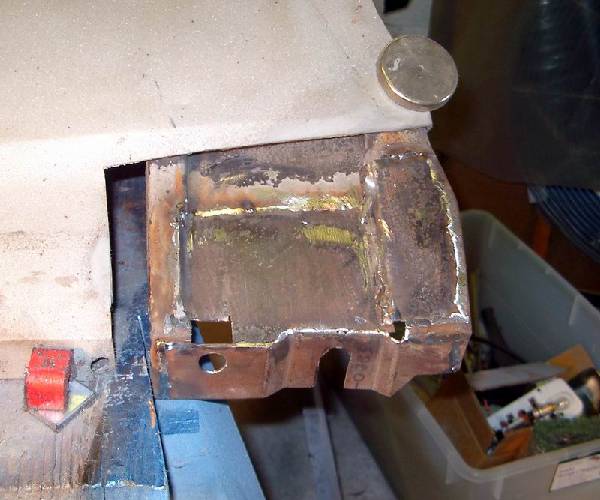 |
| Completed repair of support after sandblasting |  |
| In order to allow sealing the inside of the welded patch and to slow the return of the rust along the door edge, the spot welds along the edge were all drilled out. This allows opening the seam for proper cleaning, painting and sealing. | 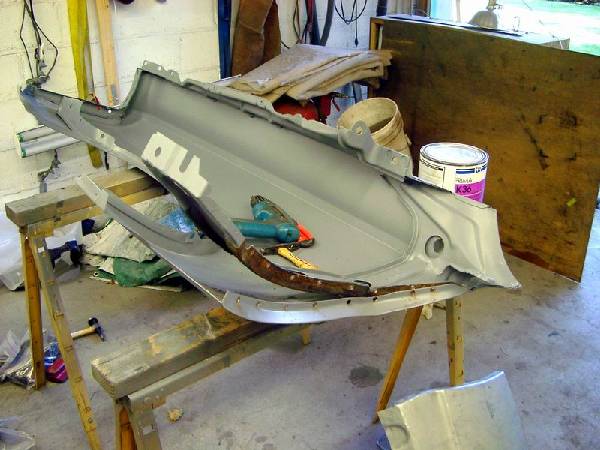 |
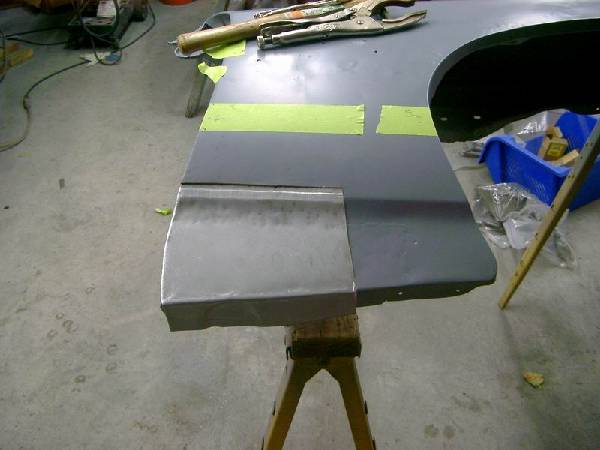
| The ridge is an important reference since it must line up with the matching door ridge. I marked the tape 4.5" above the ridge before cutting so that the replacement could be put back in the right place. |  |
| This is the replacement panel rough fit. I did the other side then came back to this.
The patch panel was a very poor fit. A particular problem was that all bends were very soft curves. The original had much sharper edges and I tried to improve things by hammering. It did not help. |
 |
| Fitting the patch panels - I was not able to get a good fit at the lower rear edge of the patch directly. Instead I welded a ridge to the back edge to fill in the gap to make it look correct. While test fitting, I tacked the support to the skin at the bottom with one spot weld. This allowed for adjustments and made it easy to open it up again for painting once the fit was done. | 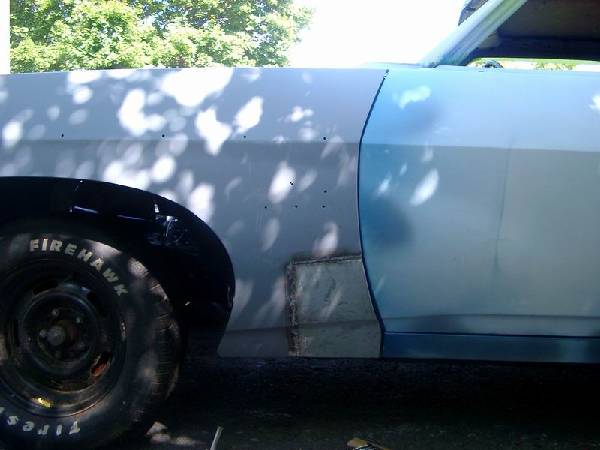 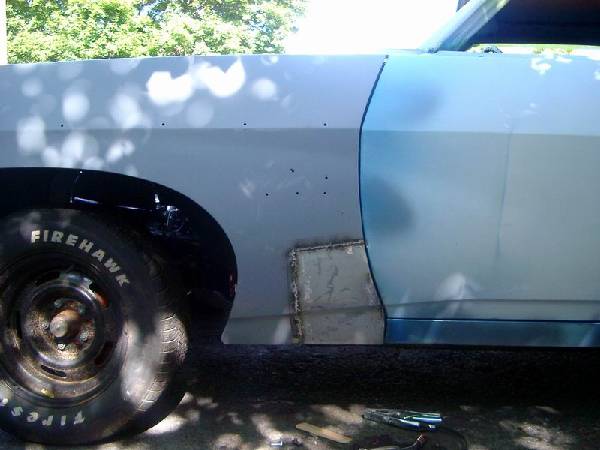 |
| Other side before filling | 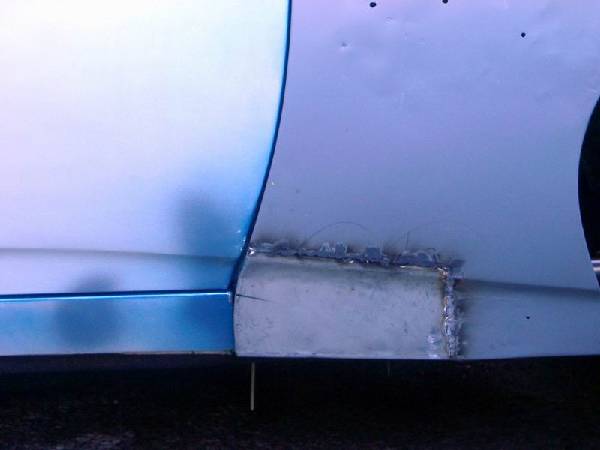 |
| "bondo" time - Although these fenders are approximately the right shape, there are an amazing number of small dents all over the surface. Apparently they were hit and pounded back into shape. With my limited body filler skills this part is fairly challenging. | 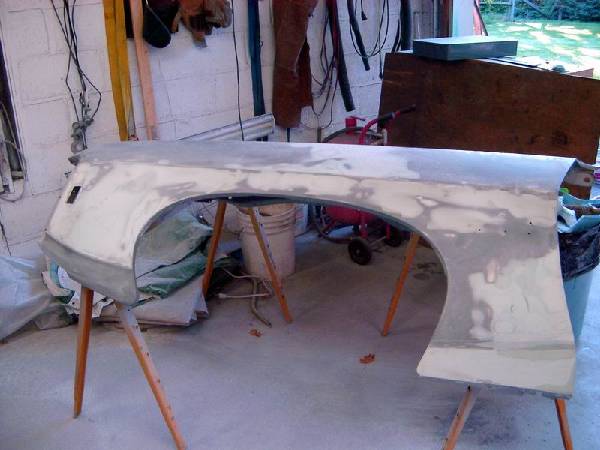  |
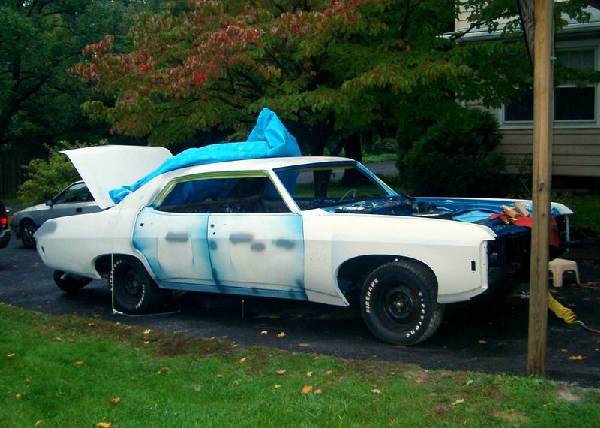
| Fenders - After prepping the fenders and rust proofing underneath with epoxy and Zero-Rust, They were fitted to the car with the appropriate shims. |
 |