This page is a slight detour but an interesting one. I had the chance to paint a friends 1968 Chevelle. He got a paint job and I got to practice (this was my third overall paint job). For better or worse, I also get to practice fixing errors. All of these problems are a normal part of painting, pros just get them less often and are faster and more proficient at fixing them.
Inexperienced people painting in a garage, will ALMOST ALWAYS have three general problems occur:
1) Dust in the paint. Pros have spray booths that minimize this greatly. I washed the garage first and used positive pressure air through filters and wet the floor but there was still dust in the clear. (unavoidable)
2) Bugs in the paint. As above, pros have spray booths to solve this problem. Starting to paint early in the day will minimize this. Most come in at night because of the lights.
3) Runs and dry spots in the paint. Pros are better than me but also have better lighting. On parts of the car that were poorly lighted, I had either runs (too much paint) or some orange peel (not enough paint).
Fortunately none of the problems in this case are too difficult to fix if you color sanding the paint. The details are below (in progress as of 11/11/02)
A word of warning - MAKE SURE you do not cut through the clear. If you do, fixing it can get to be a big deal. You will have to sand the whole panel, blend in the color, then re-clear the whole panel. I tried it only once so far by fixing some chips under the hood, in an inconspicuous place. It looks fine under there but if it had been in the middle of a door I would have a problem. One thing is sure - I will eventually have a chip/scratch/dent to fix for real.
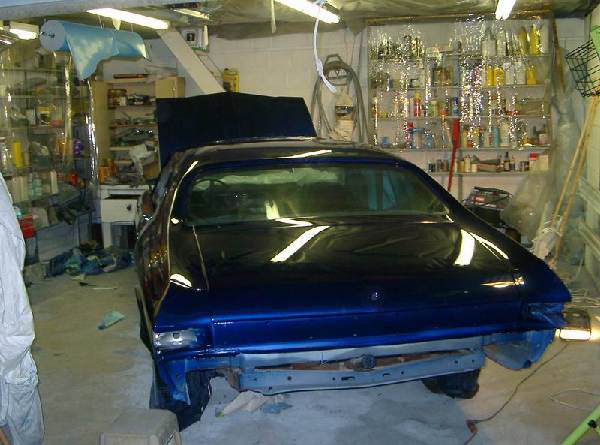
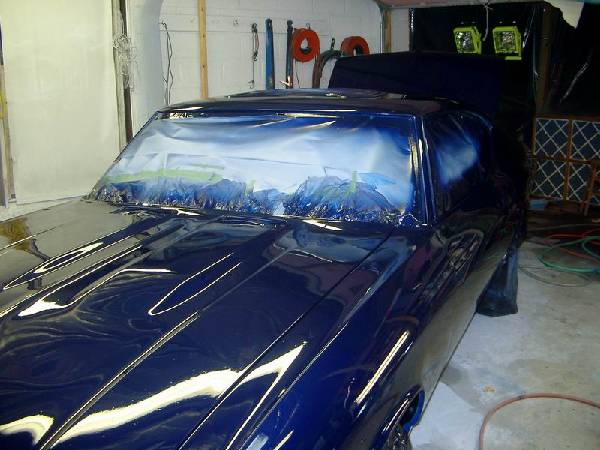
| Two shots of the raw paint job. The color does not show quite right due to the fluorescent lights but you get the general idea
1996 Ford Explorer Royal blue, R-M Diamont base, R-M DC 92 clear with DH 46 hardener DR60 reducer |
  |
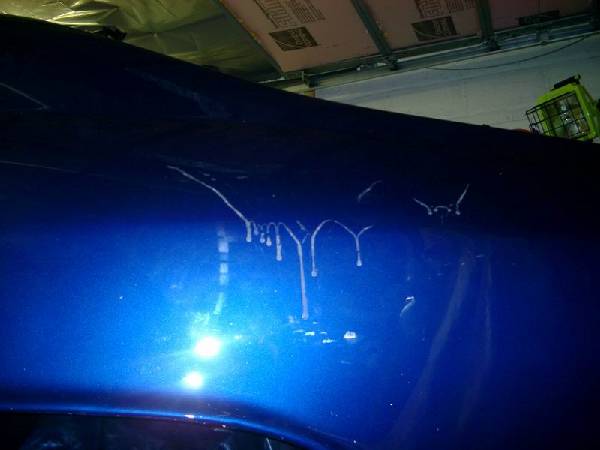
| The problems - The left picture shows one of the runs. On the right, just above the reflection of the light, you can see the trail made by a bug in the second layer of clear. I picked him out with tweezers before it dried. The specks of dust are harder to see but the right pic in the row above shows some of them. | 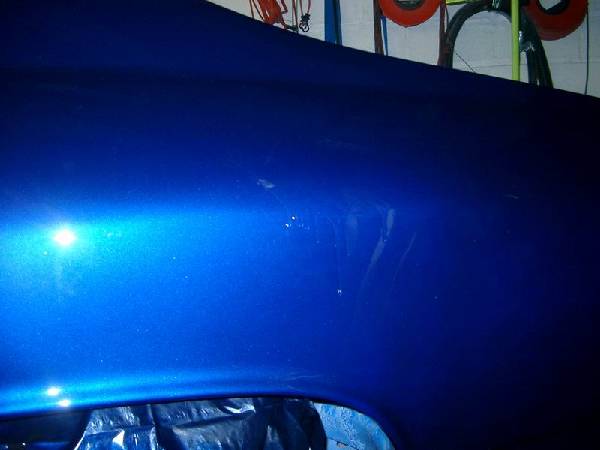  |
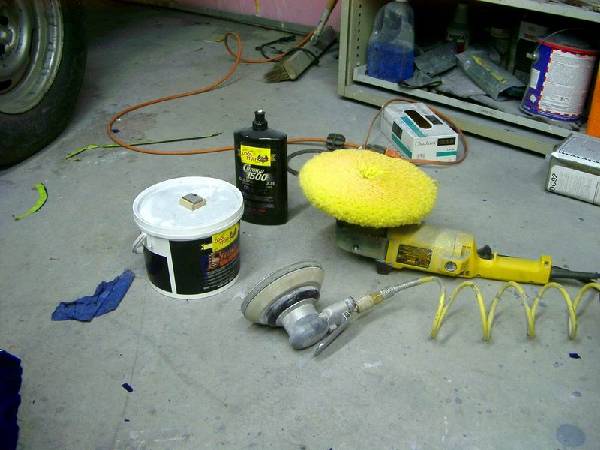
| The tools - Purchased at Autobodystore.com Nib file - This is used to shave the high spots on defects such as runs or dust. Razor blade - This can be used instead of or after the nib file to get the run closer to flat. Tape the ends to eliminate the problem of the corners digging in. Use the blade at just under 90 deg to scrape the run flat. Run Blockers - Aluminum block sanders with different shapes. for sanding the remaining high spots after the nib file. DA sander - Used with a soft interface pad and 1500 grit finishing film (sandpaper) to get out the 600 grit scratches. you may need to use 1000 to 2000 grit, depending on what you need to remove. Buffer - Used with buffing/ polishing compound to get a mirror finish back. In this case I am using presta compounds with wool pads. |
  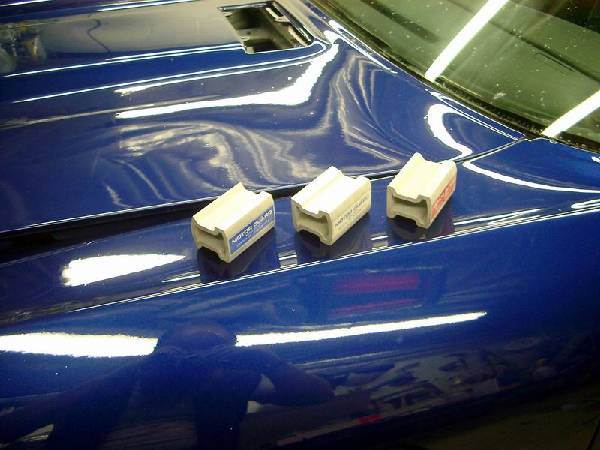  |
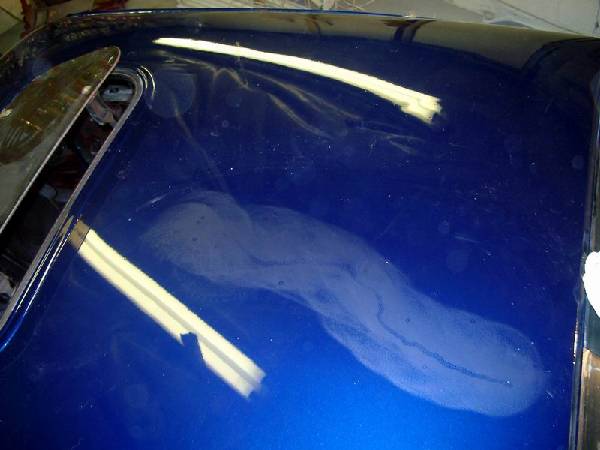
| Let the clear dry for one day and use the nib file on the high spots. Gently lie it flat on the surface and pull it diagonally across the defect. If you pull too fast or hard you may tear the clear. It does a nice job of removing the high spots. Use the razor blade if necessary to get it flatter.
This looks really nasty but the surface is actually much smoother than before. Let it dry another day before the next step. The bug trail was too shallow to shave with the nib file. |
 |
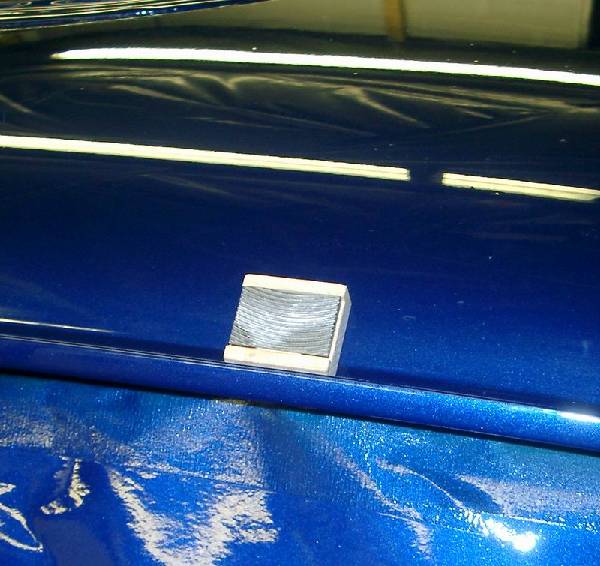
| This shows the use of the "Run blocker" with 600 grit wet sandpaper. In the picture the job is partially complete. Work the area until the surface is uniform.
Don' cut through the clear!
|
 |
| This shows the surface after cleaning up the 600 scratches with 1500 finishing film with the DA sander. This can be done by hand but is a lot more work. |  |
| The death march of super bug - I left the garage for 10 minutes for the overspray to clear. A bug landed in the roof and managed to crawl 2 1/2 feet through the clear. Amazing. I got him out with tweezers before it hardened.
The first picture shows the trail after using just 1500 film. I went back and used the run blocker then 1500 again to get to the second picture. |
  |
| After polishing with Presta Ultra cutting cream and Presta Chroma 1500 polish |   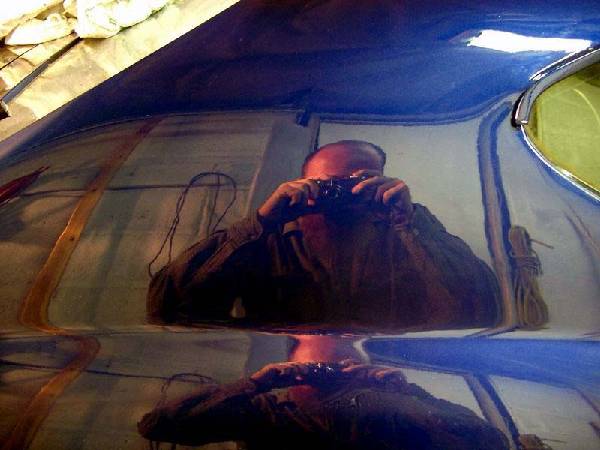 |