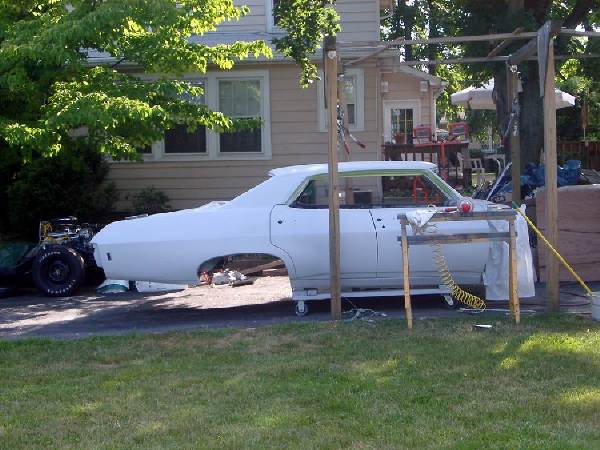
This page starts at the point that the repaired body was Epoxy primed. Some of the priming was done as sections of the repair were completed in order to prevent formation of surface rust. This is particularly important if the car needs to be outside at all. When I was preparing the doors, I left the car outside two nights. The condensation that formed overnight caused an impressive amount of surface rust on the bare sections of the body.
| This is just a shot of the epoxy primed body, ready for the next steps |  |
| Safety - Since I have a beard, a full hood supplied air respirator is a necessity. | 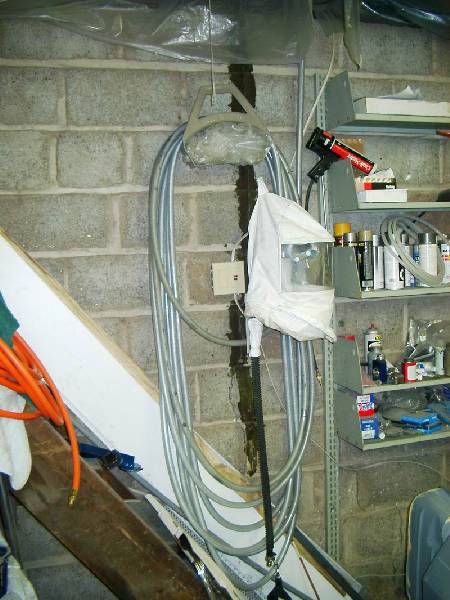 |
| Door alignment - The doors have just been bolted on at this point and you can see the misalignment. You can also see some of the filler work needed, such as where the rear door meets the quarter panel. | 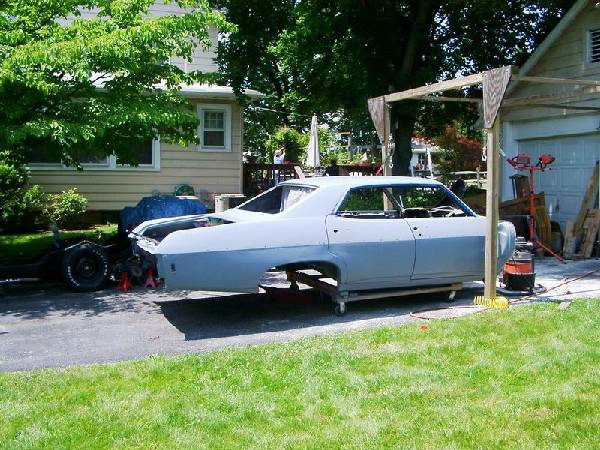 |
| The start of the body filler work. Here I have given a first coat where the welding was done | 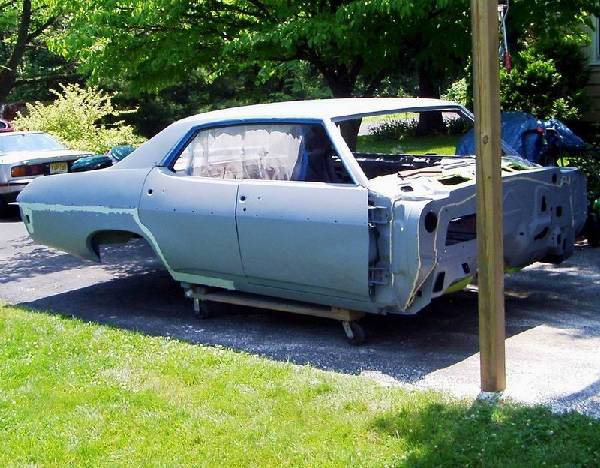 |
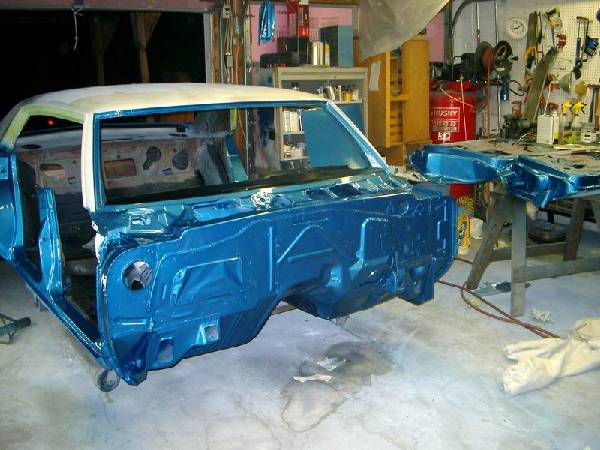
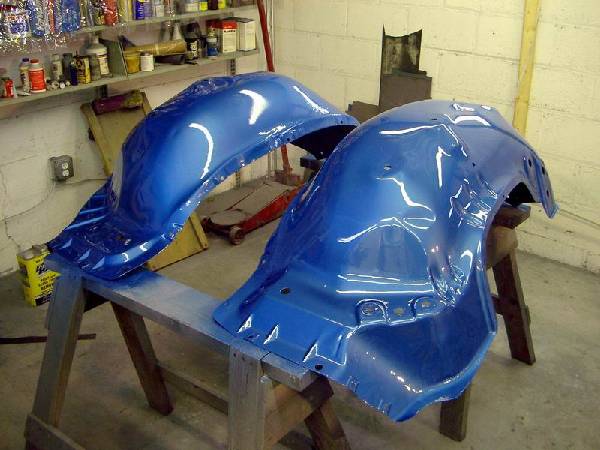
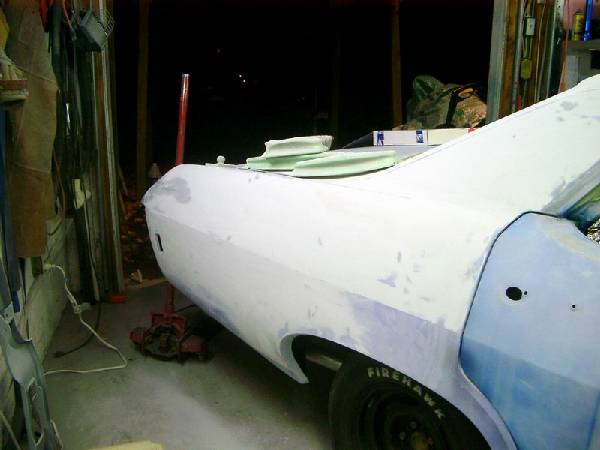
| This is the first application of the new color 1969 LeMans Blue Poly (metalic). The pulleys will stay for now. The rust will come off them after running the belts a while, otherwise they are easy enough to replace later. |  |
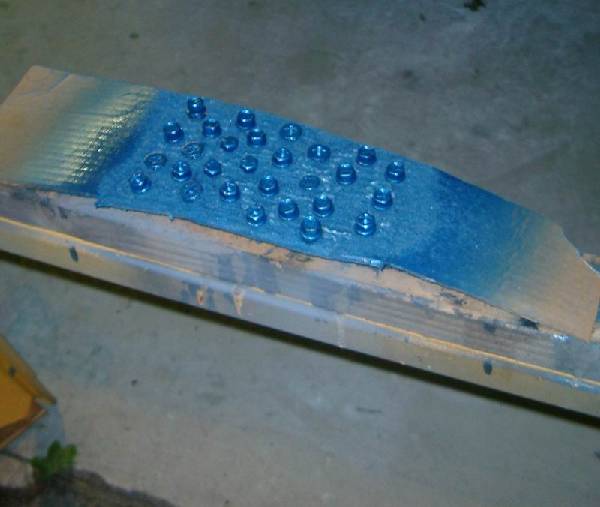
| Trim Holes - I have not been able to find the side trim for this car. It is SS with a 3.8" center strip of plastic/rubber that is color keyed to the body. When I painted the car previously I used plastic glue on "chrome" that covered the holes. This time I will plug them with these small metal scraps and body filler. They can be removed later if necessary. Once I finish the car I will see how it looks and decide then if I should use the glue-on material or leave it clean. The glue-on started to look shabby after a while and cannot be re-polished like metal can. | 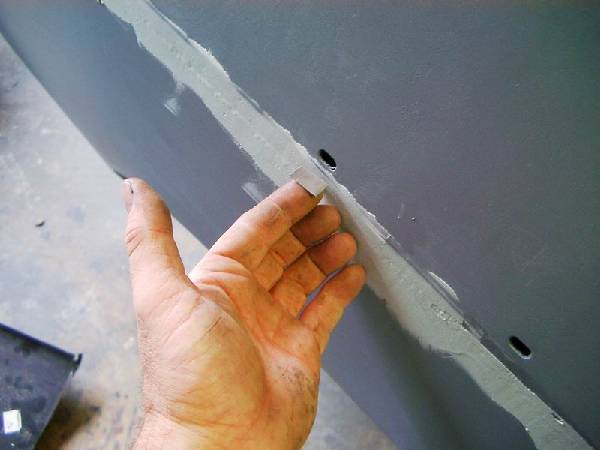 |
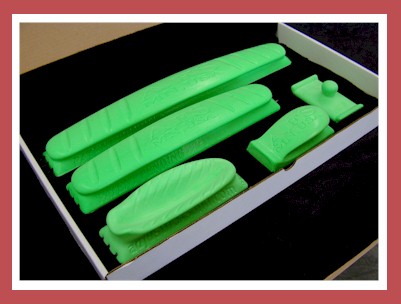
| For blind holes, cut a piece just narrower than the hole and about twice as long. Cut a sliver out of the side near one end and bend it to make a handle for use with needle nose pliers. The sliver needs to be located less than the hole diameter from the end. You then add a good blob of filler and wiggle it in the hole and pull it forward against the back of the hole. Once it hardens you can grind it slightly hollow and finish with regular filler. Use good pliers to avoid dropping the piece in the hole. | 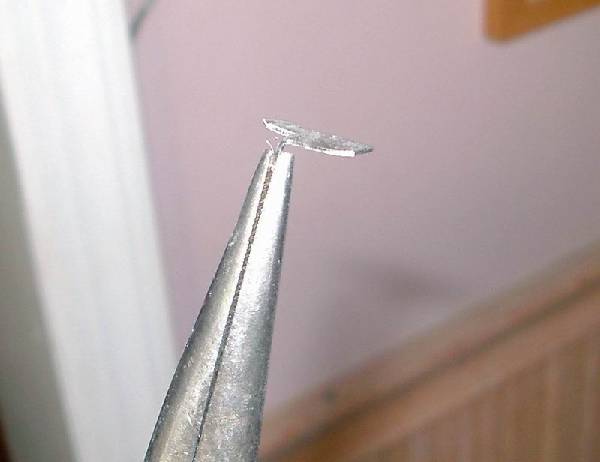 |
| Smoothing the body panels with body filler. | 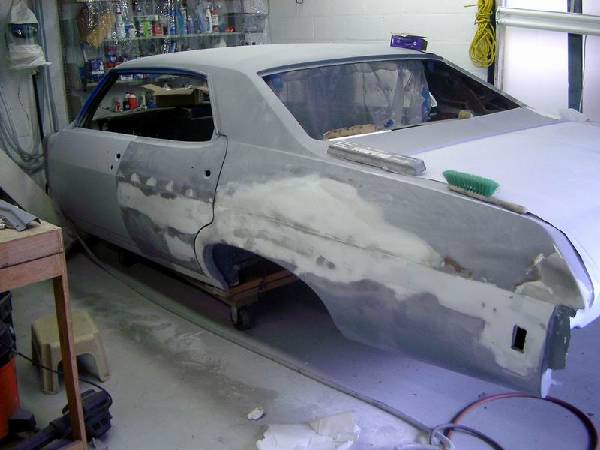 |
| Paint Stripping - I tried both sanding and chemical stripper. There was a lot of baint on the car so I first used an 80 grit disk on a 9" buffer to remove most of the paint on the outside. The shape of the inside did not allow much sanding. I put on the stripper and covered it with very thin polyethylene plastic. This allows the stripper to work without evaporating | 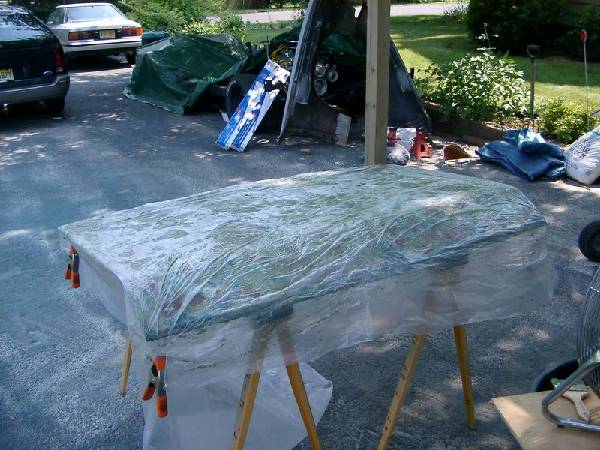 |
| Sand blasting - There was some rust on the panel seams and some paint was hard to remove in some spots. I used a sand blaster to remove this.
This is the stripped panel. Note the green tape that I used to keep the stripper from getting into the support spaces. After washing it with a Brillo pad, I power washed it to get out the sand and residual junk. I then put it in the sun to dry and primed with epoxy primer. |
  |
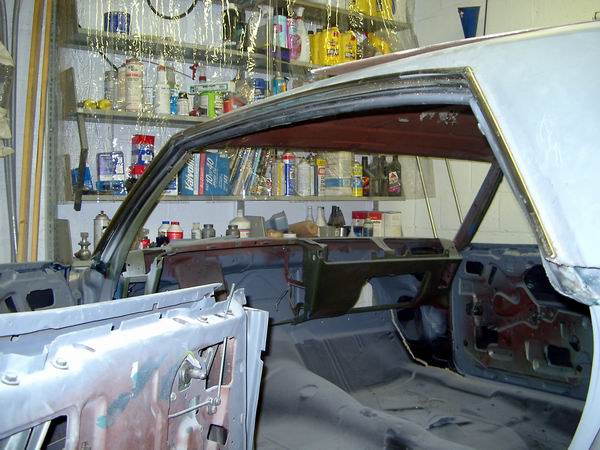
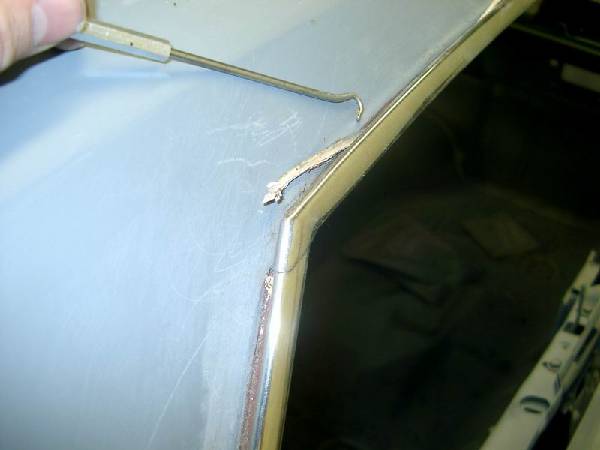
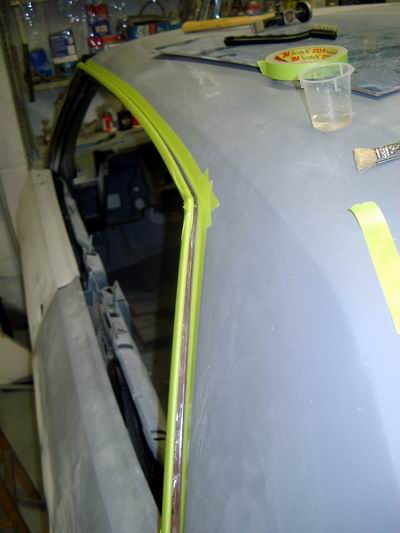
| Rain Gutters - The sealant was starting to pull away in this area. The SS trim around the window is easy to damage and replacements are not available so I will work the area with them in place. I pulled the old sealant out with the handy hooked pick shown in the second picture.
The area was cleaned with a SS brush and paint cleaner and masked as shown in the second picture and painted with epoxy paint using a small brush. The sealant was replaced with a 2 part self leveling seam sealer. |
   |
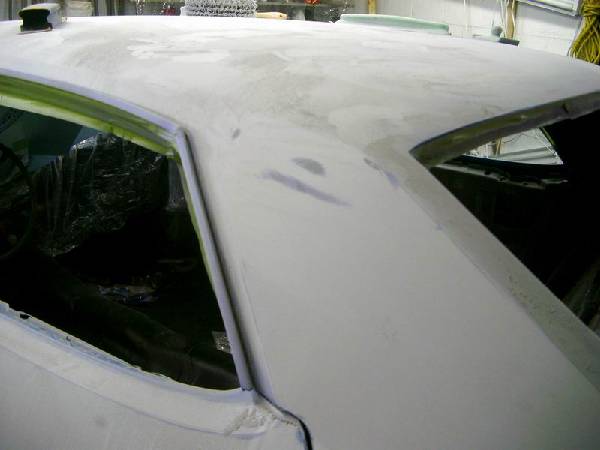
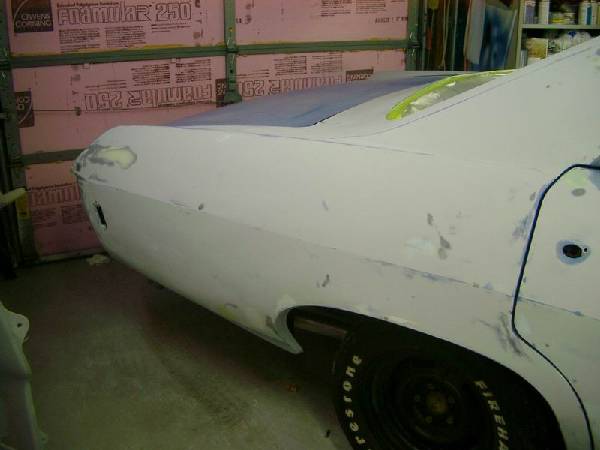
Primed car with PPG K36 high build primer - [DID OVER, See further down page] After apparent completion of body filler, I painted the body with high build PPG K36 primer. On initial inspection the driver side looks very flat the passenger side has a few small items that will need finish filler added. We shall se what the blocking shows. |
 |
| 3M Dry Guide applied to the K36 paint to aid in sanding the body. | 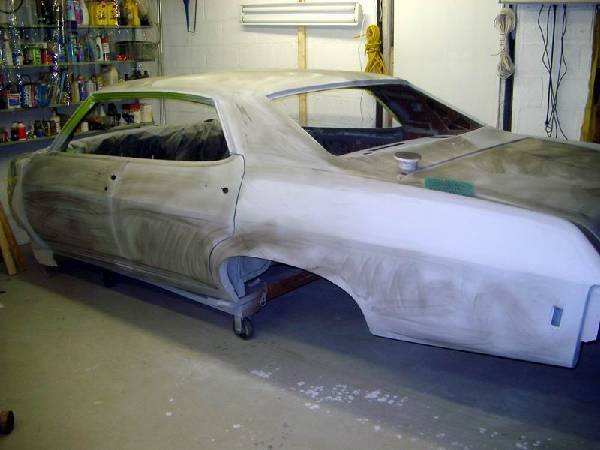 |
| Change in plans - I was going to paint the car in pieces but all advice was that metalic paint is difficult to match when painted on different days.
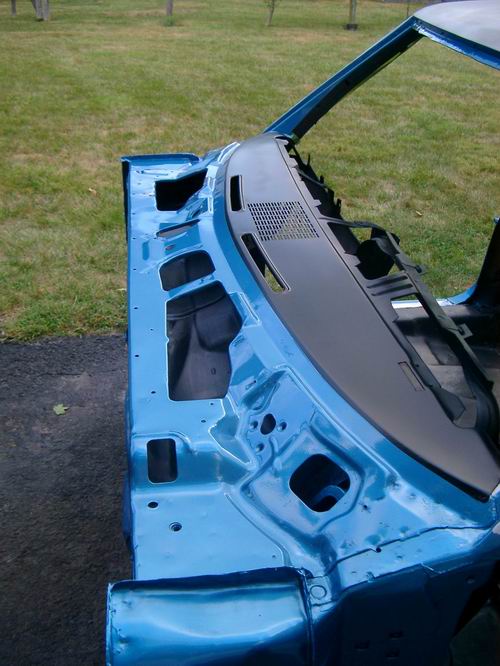
I painted the firewall, dash, door jams and window sills. I will then paint the inside of the hood and trunk. The remainder of the car will be assembled and painted all at once. The bottom picture shows a convenient way to paint the door mounting bolts. The firewall surface only had epoxy primer. I did not detail it to smooth out imperfections. |
    |
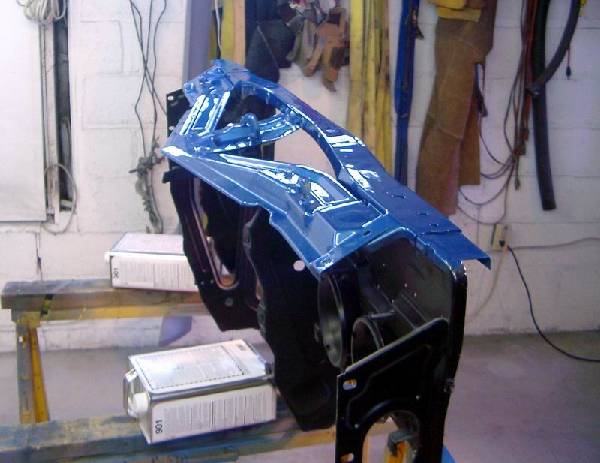
| Painted radiator support and inner fenders. This helps me practice with my new Sata NR 2000 HVLP gun. I also plan to put the body on soon and I need the radiator support to get the car running in order to move it in and out of the garage.
The finish is much better than I was getting previously with my Binks gun. |
  |
| Painted the underside of the hood and the hood hinges. They were primed with epoxy, the top side of the hood leveled using a small amount of filler and then 2K primer, a few more small spots of thin filler then 2k. the final sanding of the top will be done later. | 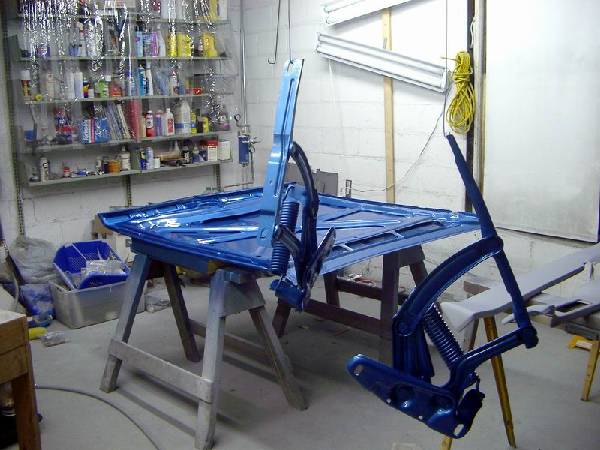 |
| Hoisted the body 40" and rolled the frame under from behind. The body mount kit from Sure Seal does not match the originals (only one available). I did not use the original metal insert for the mount under the rear seat. I trimmed the mount provided to fit in the rectangular hole and made a donut to bolt under, using a larger plumbing stopper from the hardware store. Another problem is there seemed to be too much pressure on the mounts at the rear of the trunk so I shimmed the ones at the front of the trunk with 2 large washers on top. | 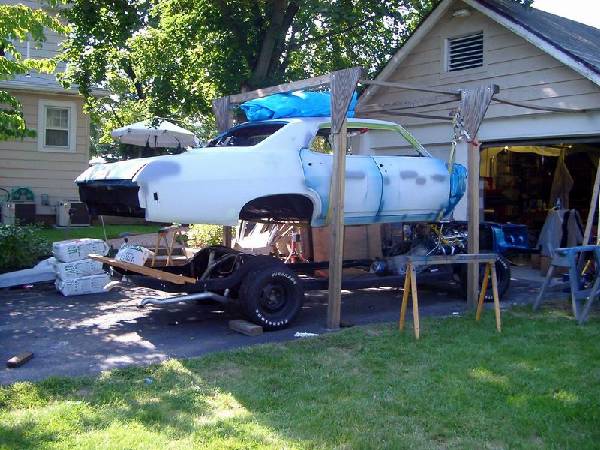 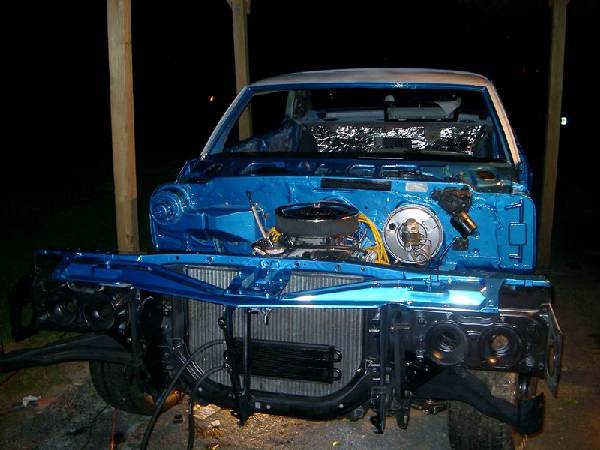 |
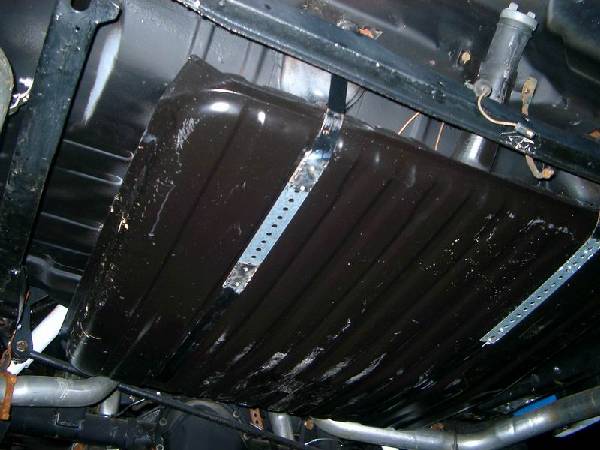
| Gas tank - The first problem was that the vent tube must be installed prior to putting the car on the frame. I unbolted all but the front two body mounts, raised the rear of the body, fished the vent into place and put the body back.
Next, the new gas tank straps were too short for the car. I cut them and welded in steel straps to get the added length. This preserved the shaped ends needed to attach the straps to the car. I first riveted them for a test fit then welded to finalize them. The tank was quite difficult to handle alone as you can see from the scratches. I will touch-up the tank paint and paint the straps. |
 |
| Exhaust system. Went in well except for the middle pipes. Because of the headers and the longer transmission, they did not fit. I cut them and welded them up. Not pretty but they should work. If not, they will at least get me to the local muffler shop to have new ones made. | 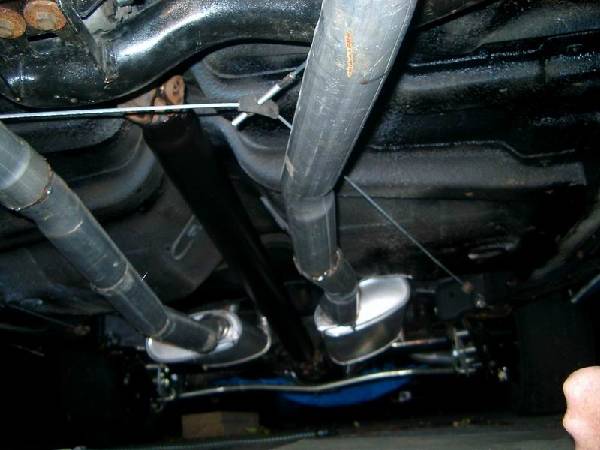 |
| Brakes - master cylinder was leaking at rear seal so replaced it. could not properly bleed front cylinders. The bleeder plugs were plugged with rust. will open cylinders to check for rust. The bleeder screws snapped off the rear cylinders so replaced them. Bleeding was then no problem for the back. | |
| Wiring - roughed in the wiring harness. Installed inner fenders to rout wiring harness in engine bay. Hooked up only enough to get the car running but started adding extra wires for rear speakers, rear door light switches and auxiliary dome/reading lights. | |
| Emergency brake - I purchased new emergency brake cables which come in three sections, the front that attaches to the brake pedal, the middle which is a connection cable and the rear section which attaches to the brake shoes in the rear drums.
The front section was for a powerglide. I do not know why this would be different, since the powerglide and turbo 350 are interchangeable. the new front section was about 8" longer than the old one. The middle was the same length. I replaced the rear 6 months ago so do not remember, but I think they were the same as the old ones. Even with the longer front section the assembly was too short ???? I had to replace the "idler" hook under the front passenger section of the connection cable with a longer hook to make it fit.
|
|
| After its first trip (turned it around in the driveway). There seems to be a sticky or bad lifter. I'll check on it later. | 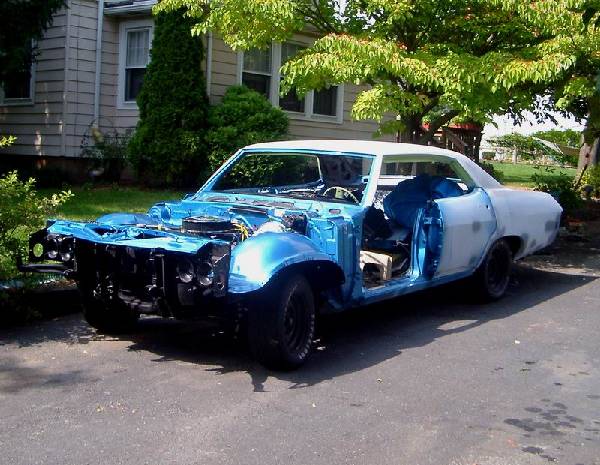 |
| Body assembled and ready for final coat of 2k primer. Will move it into the garage for the next phase. |  |
| Back two steps - There were several problems with the block sanding described above. The dry guide is no good with water. It washes off. I used too small a block so it followed the irregularities to some extent. Also I got a new Sata KLC-B HVLP primer gun. It is amazing how much better the paint lays down compared to my old Binks Mach 1. I also got a nice set of sanding blocks from Autobodystore.com. Both made a world of difference. This is a good example of where high quality tools can help compensate for primitive skills.
|
 |
| Revised blocking sequence - Prior to each blocking step, shoot a guide coat on all surfaces.
Method - use the longest block you can, move in an criss-cross pattern across all the panels. After first shot of K36 primer I used 180 grit dry to get all panels smooth. The pictures show the surface after the first blocking and you can see how the purple guide coat shows defects Re-shot K36 and blocked with 320 grit wet Applied final spots of finishing filler to some small areas that were previously missed.
|
    |
| Marking spots - I have a difficult time remembering where the small defects are located. To help remember, I use pieces of tape to mark the area as a reminder. |  |
| Sealer - After the 320 grit sanding, apply a sealer coat to any areas where you sanded through or had to apply fresh filler.
Guide coat and sand one more time with 600 grit wet or 500 dry |
 |
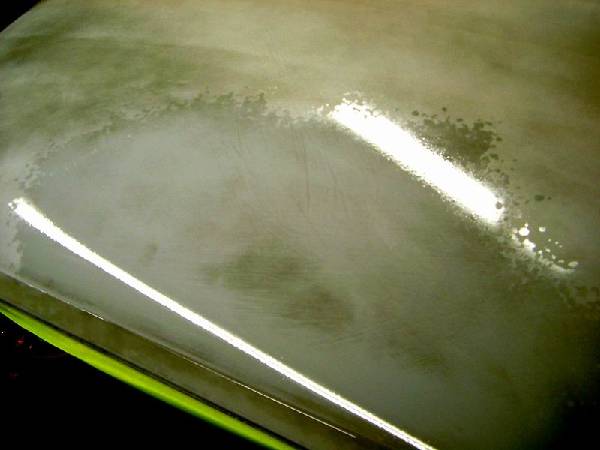
| Guide coat with block sanding - After the car was sanded to 320 it looked and felt very smooth. I guide coated and started wet sanding with 600 and was surprised at the remaining defects. The picture shows the black guide coat partially removed to show some of the remaining scratches. |
 |
| Shell of car primed with K36, ready for paint |  |