After striping the hood the extent of the rust became apparent and I decided to cut open the two pieces, repair the rust and bond the parts together again. The initial cleaning steps would have been much easier if I had opened it up first.
| I used 6 mil plastic to set up a temporary sandblasting booth I hung to help keep the sand under control and easier to sweep up. After sandblasting, I found quite a few holes in the inner edge seam. The hood was then disassembled as described below. |  |
| Rust showing under paint during stripping with chemical stripper. This is the only part of the car where surface rust was found under intact paint. | 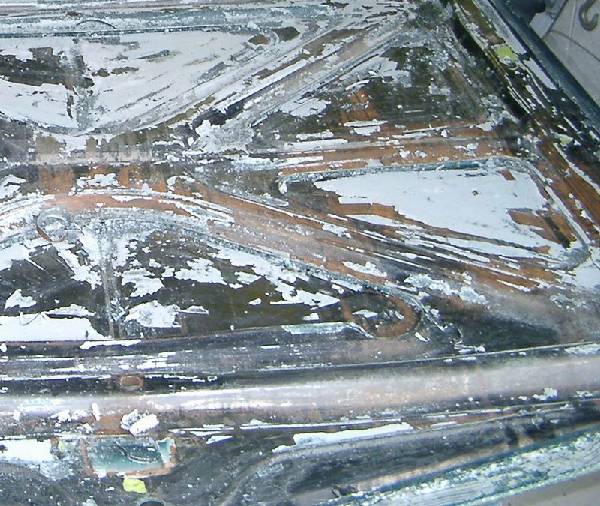 |
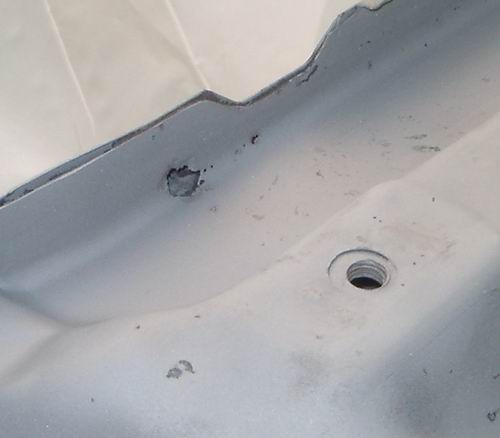
| There is some rust in the channel formed between the hood and the edge reinforcement. I considered drilling small holes and spraying interior panel coating inside to slow further rust. The hole in the picture is the only one that is larger than a pinhole.
The correct repair is be to separate the two hood parts by drilling out the spot welds, repair the problem from inside and reassemble. This also allows the paint to be properly applied to the inner surfaces. |
 |
| There were MANY spot welds holding the two pieces of the hood together. I used a Wivico spot weld bit (autobodystore.com) to drill out the welds. This is the best spot weld bit I have tried. The pilot drill provides a positive, no slip guide, however, it leaves a hole in the panel underneath. The scraper blade was useful when there was a small part of the weld left. Tapping with a hammer cut the last part free. | 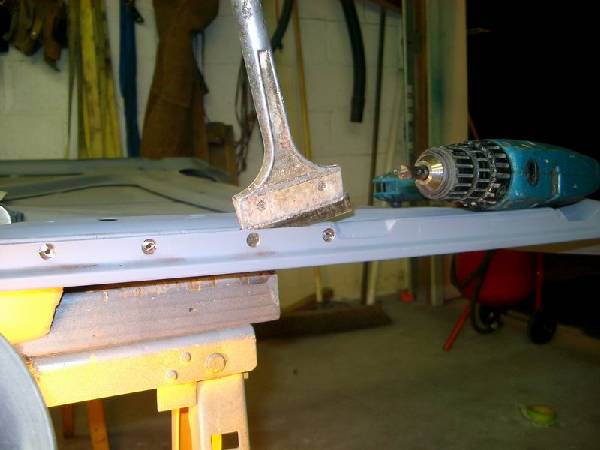 |
| This is the support piece and outer skin cut free and turned over to show the rusted areas. Great care is needed in handling the loose outer skin since it is very easy to bend. The lower right picture shows a bend that occurred when separating the sections. It was removed by shrinking the edge of the panel with a shrinking tool from Eastwood. | 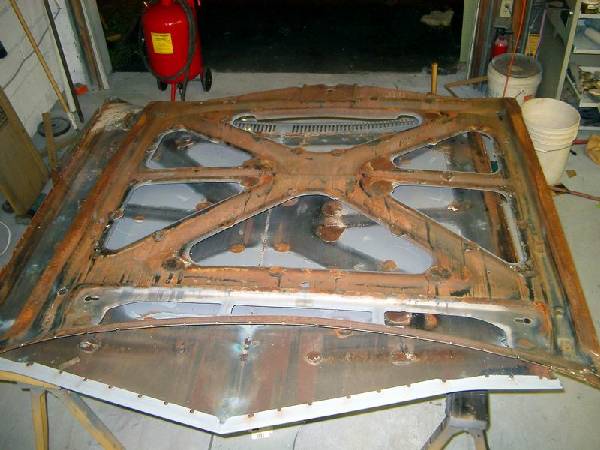 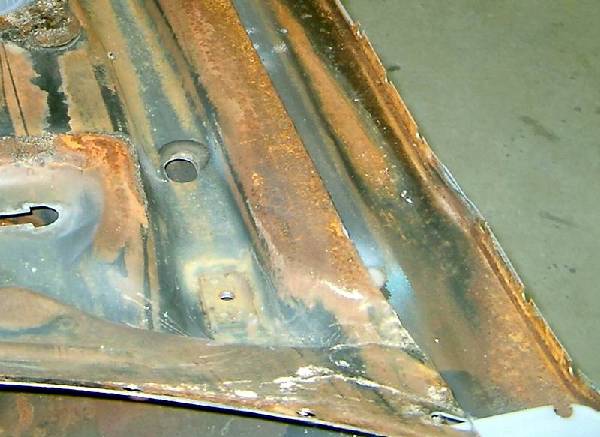  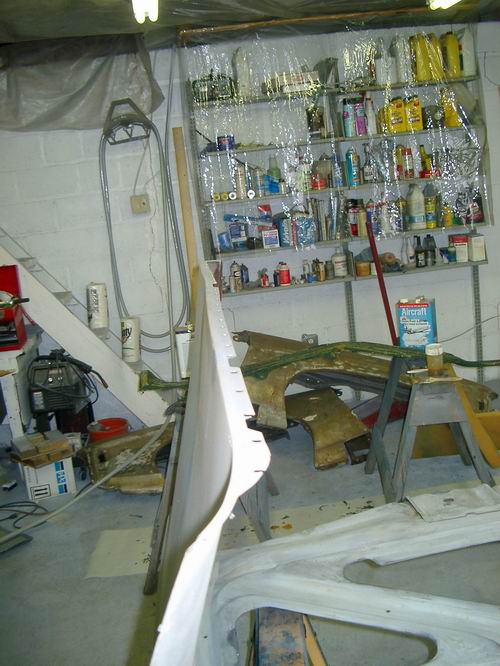 |
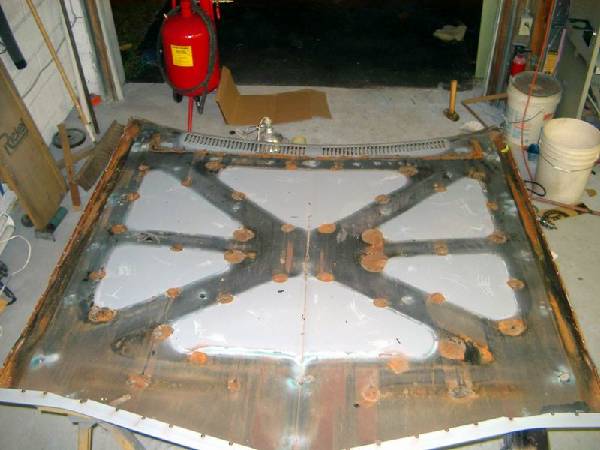
| This shot shows the spots where the foam panel adhesive was used. This is an important part of the structure and will need to be replaced on reassembly.
The area will need to be sandblasted and painted for reassembly. |
 |
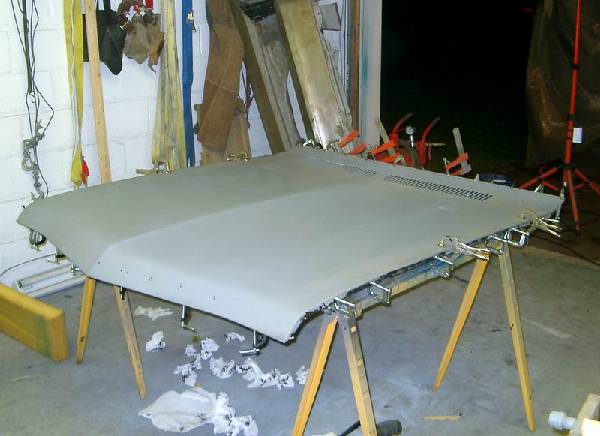
| After cleaning, the parts were treated with Picklex 20 rust treatment, the edges were masked to leave bare metal at the bonding points around the edge, painted with epoxy paint, then the hidden areas were painted with Zero-Rust. | 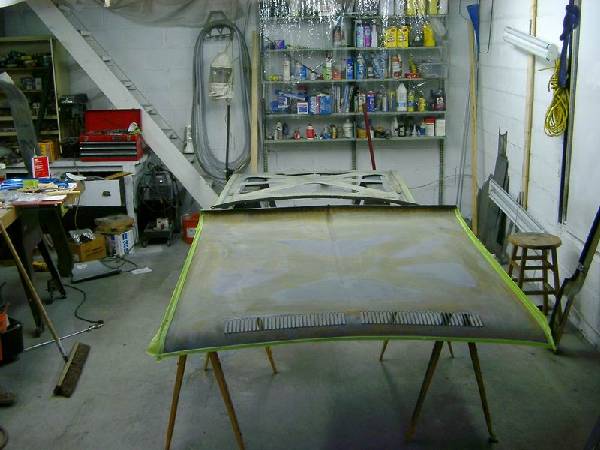 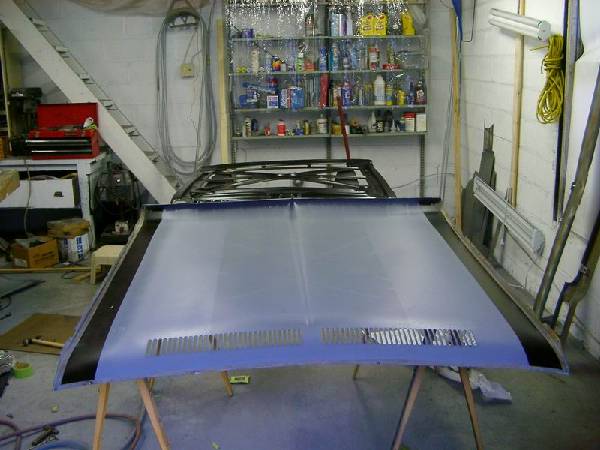 |
| The pieces were test assembled. The edges of the skin had bent out somewhat during the separation step and had to be hammered in to give a tighter fit. This is a bit tricky too tight and the glue will be squeezed out. Too lose and I will not have enough clamps to reassemble.
When gluing, The glue was spread around all the bare metal areas. This filled most of the pinholes in the metal and will protect against rust. |
 |
| Before assembly expanding foam was used to replace the factory foam spacers. It was placed in the original locations. Placing it was tricky since it did not stick well to the paint. Part way through I sanded a few spots to try and increase adhesion but it did not seem to help. | 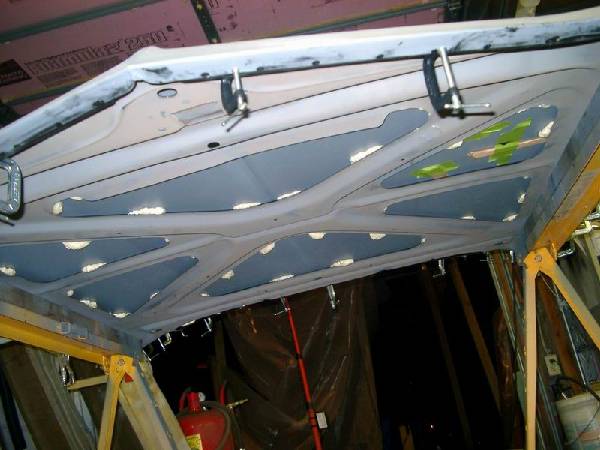 |
| The holes where the spot welds were drilled out were filled. There were also several slight bumps and low spots after the glue and foam hardened. These were filled with body filler. and the hood was primed with epoxy.
The block sanding will be done later. We will see then if any other waves need filling. |
 |
| Sequence Error - When reassembling the hood, I used rust proofing paint on some of the internal areas. I forgot that in the vent area, the inside of the support is visible. In an effort to fix the problem I masked the area and shot K36 primer through the holes to try and cover the Zero-rust. I will do the same with the first coat of color and clear. | 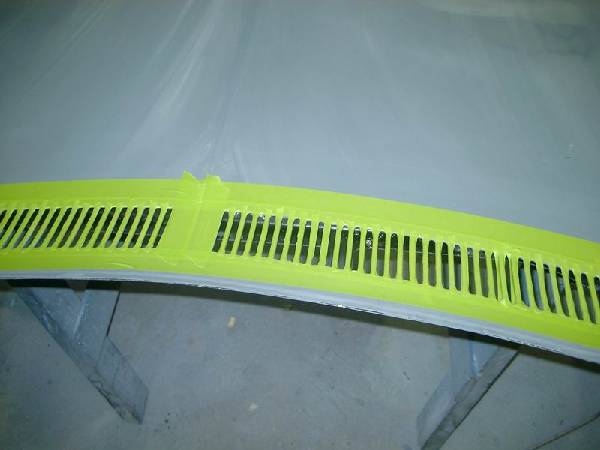 |