The following sequence shows the final painting of the car, including the changes needed to fit the car in the garage, cleaning, heating and the defects from the paint job and how they were fixed. See the Paint and Sequence page for a list of materials.
This page is a slight detour but an interesting one. I had the chance to paint a friends 1968 Chevelle. He got a paint job and I got to practice (this was my third overall paint job). For better or worse, I also get to practice fixing errors. All of these problems are a normal part of painting, pros just get them less often and are faster and more proficient at fixing them.
Inexperienced people painting in a garage, will ALMOST ALWAYS have three general problems occur:
1) Dust in the paint. Pros have spray booths that minimize this greatly. I washed the garage first and used positive pressure air through filters and wet the floor but there was still dust in the clear. (unavoidable)
2) Bugs in the paint. As above, pros have spray booths to solve this problem. Starting to paint early in the day will minimize this. Most come in at night because of the lights.
3) Runs and dry spots in the paint. Pros are better than me but also have better lighting. On parts of the car that were poorly lighted, I had either runs (too much paint) or some orange peel (not enough paint).
Fortunately none of the problems in this case are too difficult to fix if you color sand the paint. The details are below.
A word of warning - MAKE SURE you do not cut through the clear. If you do, fixing it can get to be a big deal. You will have to sand the whole panel, blend in the color, then re-clear the whole panel. I tried it only once so far by fixing some chips under the hood, in an inconspicuous place. It looks fine under there but if it had been in the middle of a door I would have a problem. One thing is sure - I will eventually have a chip/scratch/dent to fix for real.
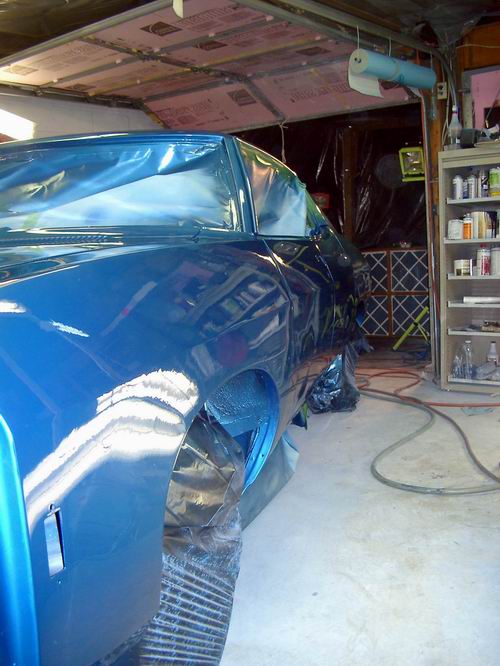
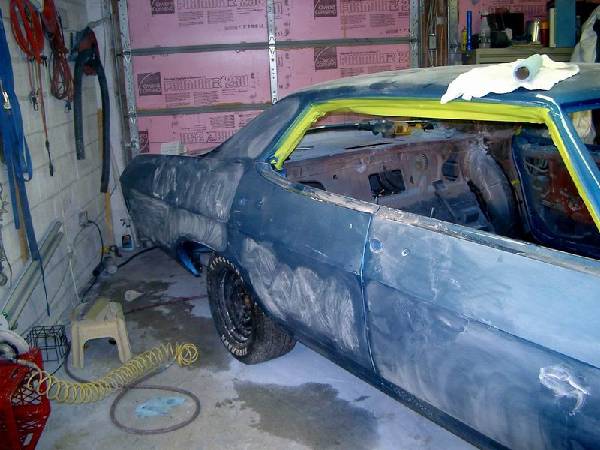
| My garage is too small for painting the Impala with the door closed (20 x 20, the car is 18' long). I put it in diagonally and there was still not enough room to walk around without touching the car. | 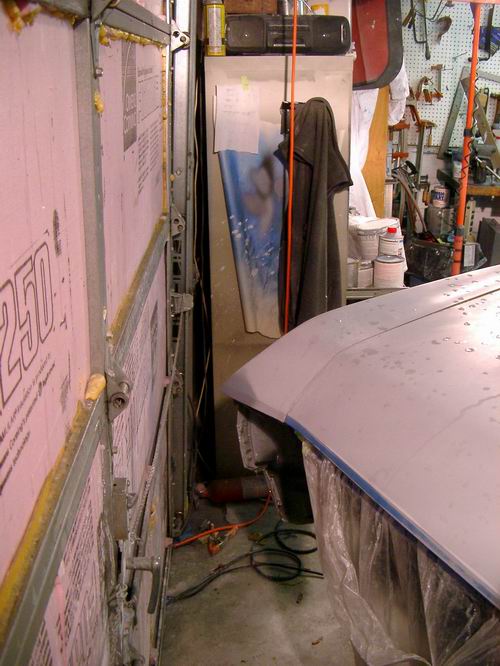 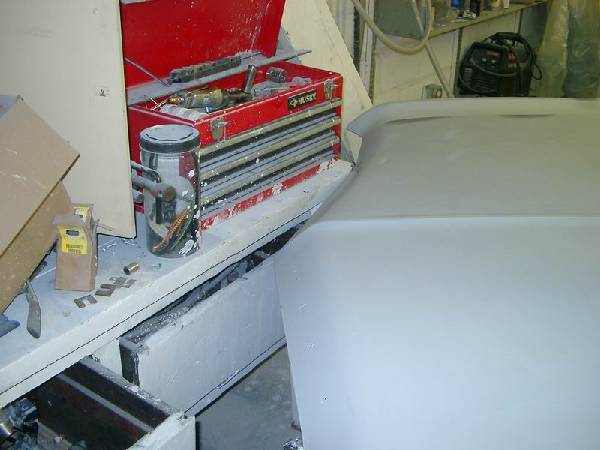  |
| Extra space - I used one of the frames for lifting the car to make an entryway for extra space. This allowed me to move the car back 1.5 ft. I could then reach around the front to get the front edge of the hood and walk around the back to get from one side to the other. There was still VERY little space and I ended up touching the car at several points with either my body or the air hoses during the painting. The resulting defects were easily fixed.
Ventilation - The first picture at right shows the "flow through" ventilation in the garage. The ceiling is covered with 6 mil plastic sheeting. Air enters from the large fan on the ground, goes through the garage, up a staircase at the back and out the vent seen at the top. There is an exhaust fan behind the louvers at the top |
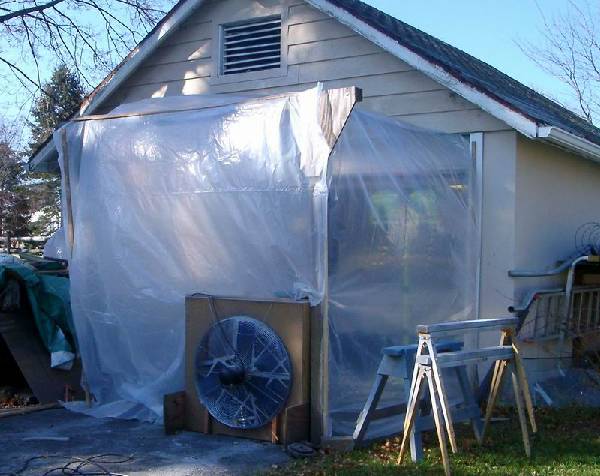  |
| Cleanup - The day before painting I cleaned up the garage. I used compressed air to blow dust off of everything in the garage except the floor. This included the ceiling. garage door tracks, tool boxes, I then power washed as much of the garage as possible including the ceiling walls garage door and tracks, floor. There were areas where tools were that I could not wash. Most of these were covered with clear vinyl to minimize airborn dust.
When I was finished , I did it all again Heat - I used a kerosene torpedo heater for the painting. I preheated the garage to about 80 deg and turned it off while spraying |
|
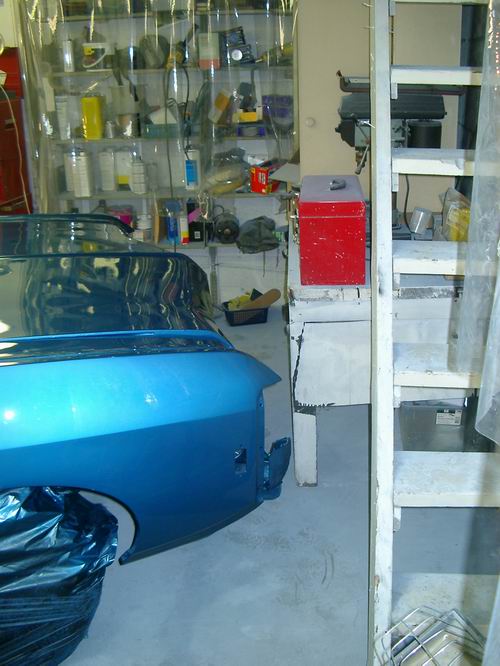
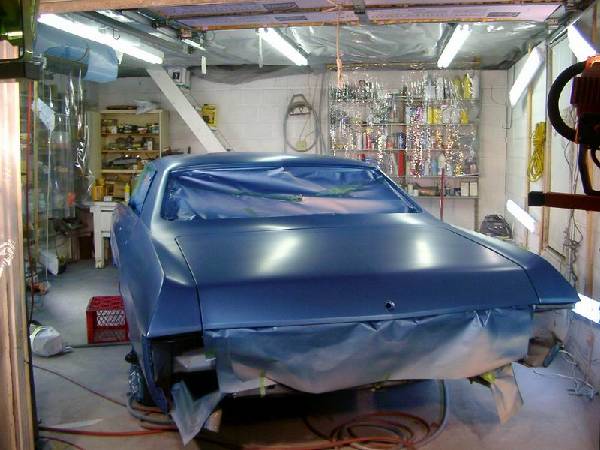
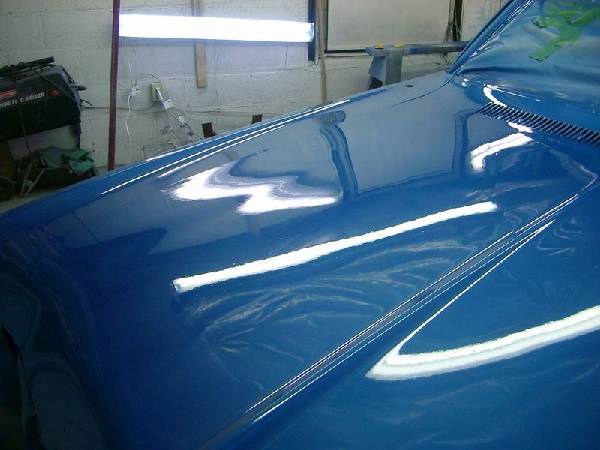
| The first picture shows the final coat of base color applied. I put on 4 coats of base. Three coats looked like they covered and I added one more for insurance.
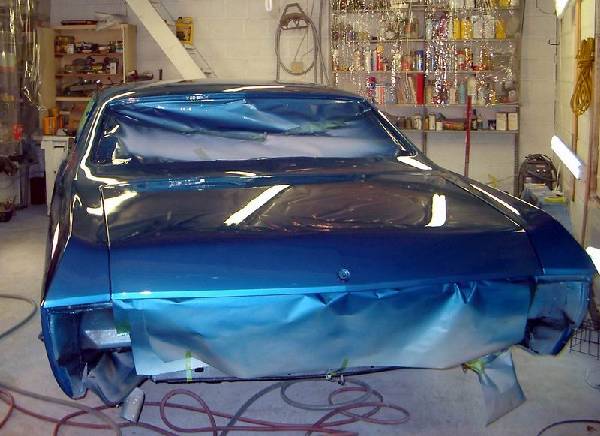
I checked for dust and defects after each coat of base dried and used a tack rag before the next coat. The other two pictures show the car after the clear was done. Three coats. |
   |
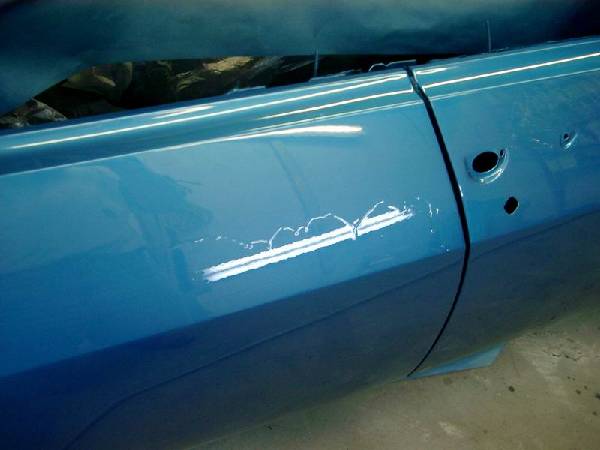
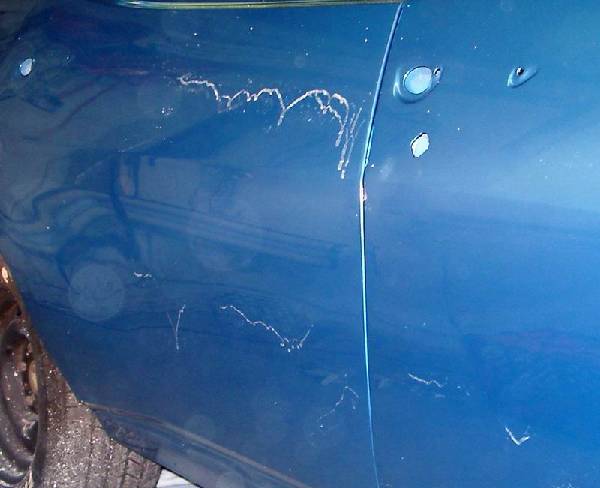
| Defects - Three types of problems need to be fixed:
Runs - There were several major and minor runs. The first picture at right show the worst one, Scratch - One small scratch was made when I was reaching over the car to get the center of the hood. This was during the application of the first coat of clear. Color sanding - There was some dust in the clear and a small amount of texture in the finish. I will color sand the car. |
   |
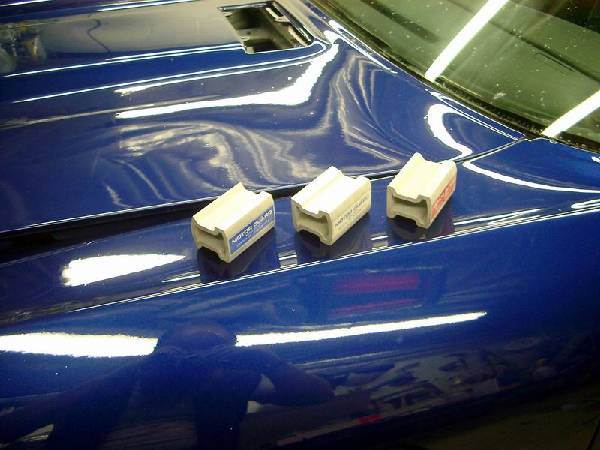
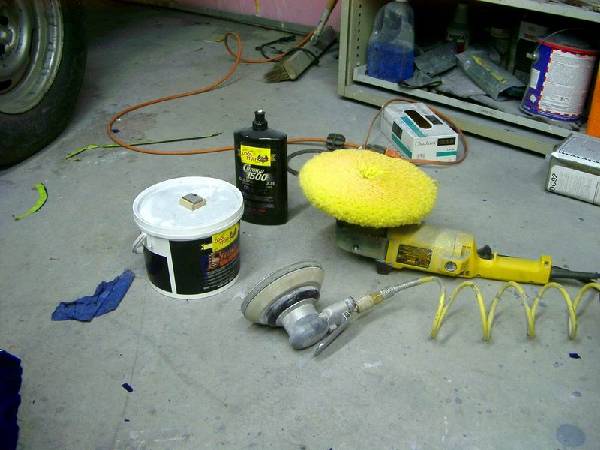
| The tools - Purchased at Autobodystore.com
Razor blade - This can be used instead of or after the nib file to get the run closer to flat. Tape the ends to eliminate the problem of the corners digging in. Use the blade at just under 90 deg to scrape the run flat. Run Blockers - Aluminum block sanders with different shapes. for sanding the remaining high spots after the nib file. DA sander - Used with a soft interface pad and 1500 grit finishing film (sandpaper) to get out the 600 grit scratches. you may need to use 1000 to 2000 grit, depending on what you need to remove. Buffer - Used with buffing/ polishing compound to get a mirror finish back. In this case I am using presta compounds with wool pads. |
     |
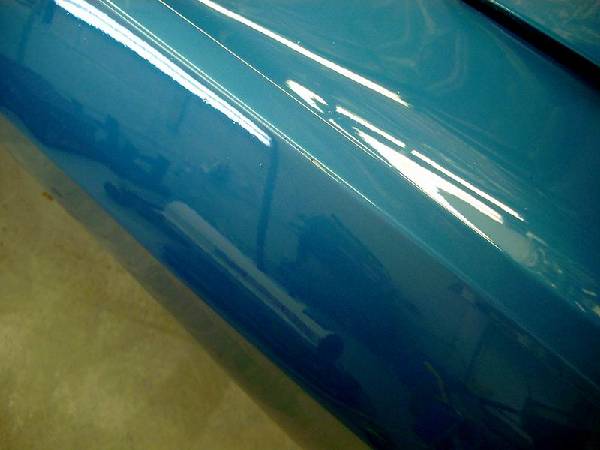
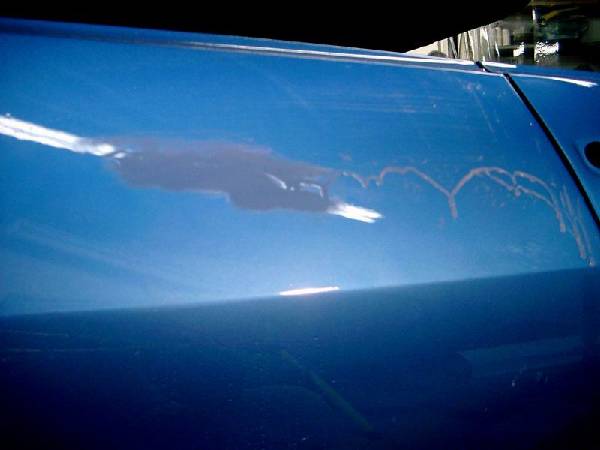
| Let the clear dry for one day and use the nib file on the high spots. Gently lie it flat on the surface and pull it diagonally across the defect. If you pull too fast or hard you may tear the clear. It does a nice job of removing the high spots. Use the razor blade if necessary to get it flatter.
This looks really nasty but the surface is actually much smoother than before. Let it dry another day before the next step. |
 |
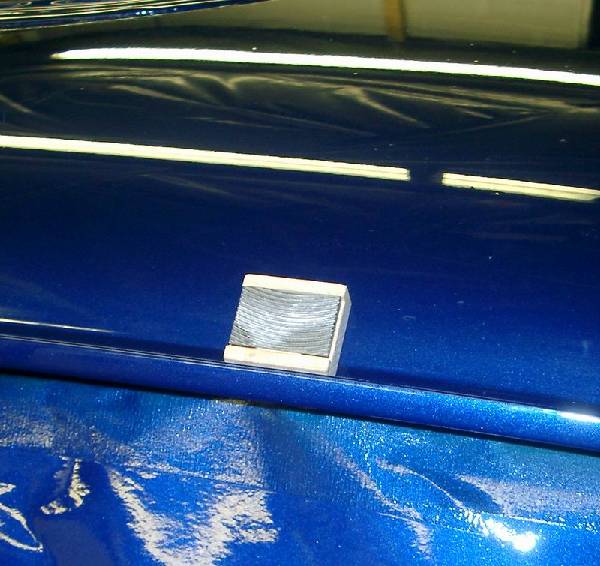
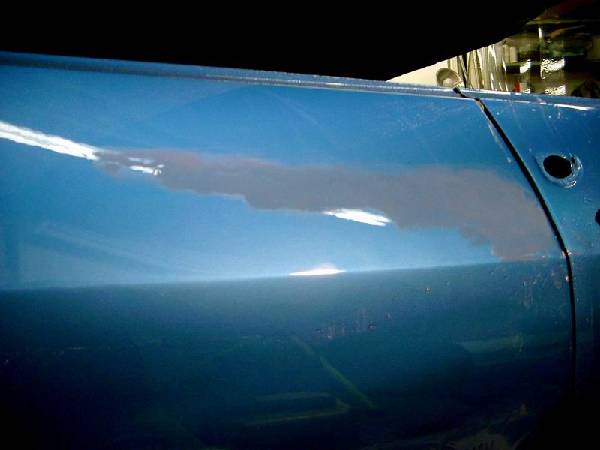
| This shows the effect of using a "Run blocker" with 600 grit wet sandpaper. In the left picture the job is partially complete. Work the area until the surface is uniform as seen on the right.
Don' cut through the clear! |
  |
| This shows the surface after cleaning up the 600 scratches with 1000 finishing film with the DA sander. This can be done by hand but is a lot more work. Prior to sanding, the whole surface was gone over by hand with the nib file to remove the high points of any dust in the clear. The 1000 was used over the whole car to remove the orange peel. It was then washed and sanded with 1500 prior to buffing.
|
 |
| Removing orange peel - This shows the roof at three stages of sanding. In the background is the new paint the right side shows a partially sanded surface. Some texture is still visible. The left side shows the fully sanded surface |  |
| Roof before and after buffing with Presta Ultra cutting creme and Chroma 1500 polish | 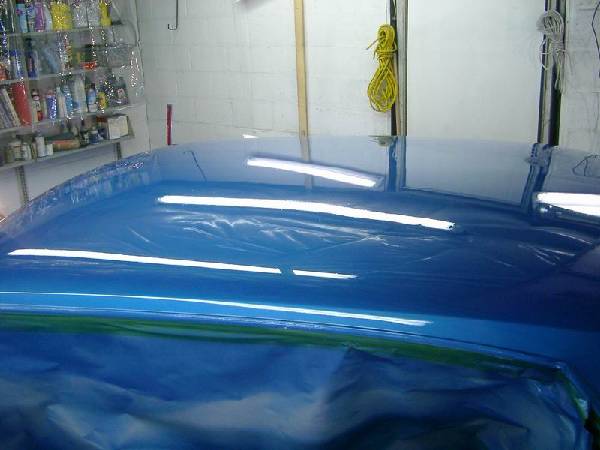 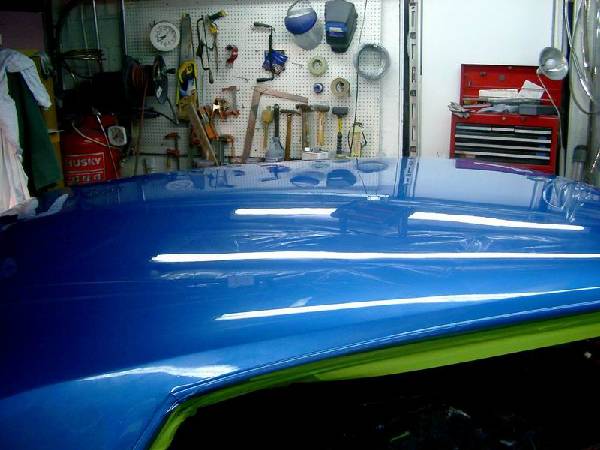 |
| To be continued | |